
Sketching tools are the pencils, pens, papers, and digital devices that turn rough ideas into clear visual sketches.
If you have ever tried to capture an idea before it vanished, you already know how important the right sketching tools can be. I have spent years testing sketching tools for quick thumbnails, polished concept drawings, and everyday note taking, and the biggest lesson is simple: the tool should support your hand, not fight it. In this guide, I will walk you through the best sketching tools, how they work, when to use them, and what to look for so you can choose with confidence.
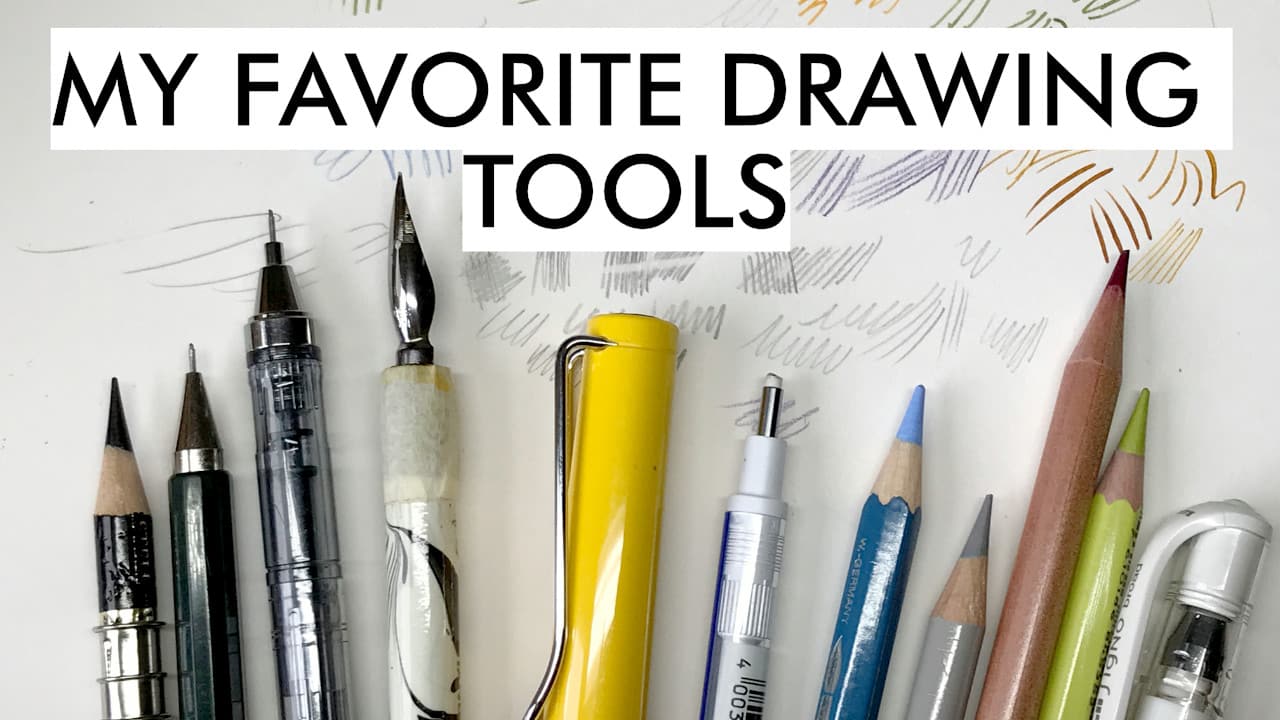
What Sketching Tools Are and Why They Matter
Sketching tools are any tools used to make quick drawings, rough drafts, or visual notes. They can be traditional, like graphite pencils and sketchbooks, or digital, like tablets and styluses. The main purpose is to help you think visually, test ideas fast, and build a drawing before adding detail.
I like to think of sketching tools as the “first sentence” of a visual idea. A good sketch does not need to be perfect. It needs to be clear enough to capture shape, mood, proportion, and movement. That is why artists, designers, architects, product teams, and hobbyists all rely on them.
Sketching tools matter because they reduce friction. When the tool feels natural, ideas move faster from your head to the page or screen. That speed is often where creativity starts to feel easy.
Traditional Sketching Tools You Should Know
Traditional sketching tools are still the backbone of drawing for many artists. They are simple, affordable, and easy to use anywhere. They also teach core skills like pressure control, line confidence, and hand-eye coordination.
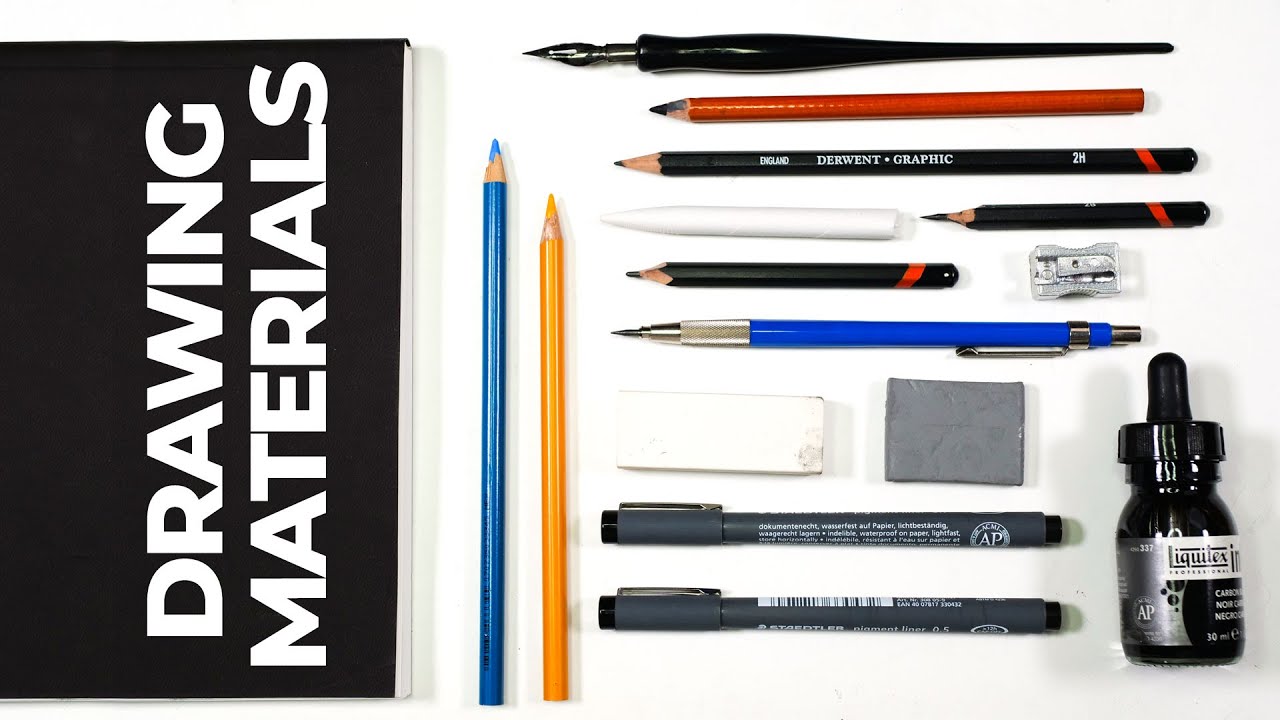
Common traditional sketching tools include:
- Graphite pencils: Great for beginners and pros because they come in different hardness levels.
- Charcoal pencils: Best for bold contrast and expressive shading.
- Mechanical pencils: Useful for clean lines and technical work.
- Erasers: Kneaded erasers and vinyl erasers help with corrections and highlights.
- Sketchbooks: Paper choice changes the feel of every stroke.
- Ink pens: Good for sharp outlines and permanent line work.
- Blending tools: Tortillons and blending stumps help smooth shading.
When I first started, I made the mistake of buying cheap pencils in a huge set and assuming more tools meant better results. It did not. One good HB pencil, one soft 2B pencil, and a decent sketchbook taught me far more than a giant box of supplies. The lesson was clear: start small, then expand based on what you actually use.
Paper also matters more than people expect. Smooth paper works well for clean line work, while textured paper grabs more graphite and gives a richer look. If you sketch a lot, keep a few paper types around and test them for your style.
Digital Sketching Tools for Modern Artists
Digital sketching tools have changed the way people draw, revise, and share work. They are especially useful for people who want layers, undo buttons, quick edits, and easy file storage. For many artists, digital tools feel like a faster sketchbook that never runs out of pages.
Key digital sketching tools include:
- Drawing tablets: These connect to a computer and let you draw with a stylus.
- Screen tablets: These let you draw directly on the display for a more natural feel.
- Styluses: Pressure-sensitive pens help mimic real pencil strokes.
- Sketching apps: Programs like Procreate, Adobe Fresco, Krita, and Clip Studio Paint offer brushes and layers.
- Pen displays: These are popular with illustrators who want high precision and a pen-on-paper feel.
One thing I learned after switching between paper and screen is that digital sketching is not automatically easier. It is different. The best digital sketching tools are the ones that make the interface invisible so your focus stays on the drawing.
A helpful example is concept art. On paper, changing a pose might mean redrawing the whole character. On a tablet, you can move layers, scale shapes, and test ideas much faster. That flexibility is a huge advantage when deadlines are tight.
How to Choose the Right Sketching Tools
Choosing sketching tools depends on your goals, comfort, and budget. A beginner who wants to practice daily does not need the same setup as a professional illustrator or product designer. The best choice is the one you will actually use consistently.
Here are the main things to consider:
- Skill level: Beginners often do best with simple pencils, erasers, and a sketchbook.
- Drawing style: Technical sketching, portrait work, and cartooning each need slightly different tools.
- Portability: If you sketch on the go, choose compact tools or a tablet with good battery life.
- Budget: You can start well without spending a lot.
- Surface feel: Some people prefer paper texture. Others want the smoothness of glass and stylus.
- Workflow: If you revise a lot, digital tools may save time.
I usually recommend thinking about your workflow before buying anything. Ask yourself whether you sketch for practice, design, client work, or fun. That answer will tell you much more than a product list ever will.
A simple starter kit for most people might include:
- 2 to 3 graphite pencils
- A kneaded eraser
- A small sketchbook
- A sharpener
- An optional fineliner pen
For digital users, a basic tablet, stylus, and one reliable sketching app can be enough to begin.
Benefits of Using the Right Sketching Tools
The right sketching tools can improve both speed and confidence. When the setup feels comfortable, you spend less energy fighting the tool and more energy thinking about the drawing. That is a big deal for beginners and professionals alike.
Main benefits include:
- Better control: The right pencil or stylus gives smoother lines and cleaner shapes.
- Faster idea capture: Quick sketches help you save thoughts before they fade.
- Less frustration: Tools that match your hand reduce strain and mistakes.
- More creativity: A good setup encourages experimentation.
- Easier learning: You can focus on skills instead of tool problems.
Research and industry practice both support this idea. In design and art education, simple tools are often used first because they help learners build fundamentals before moving into complex gear. That approach is practical, and in my experience, it works.
Sketching tools can also support different creative stages. Rough thumbnails, detailed studies, and final line work often need different tools. Having the right one for each stage keeps your process smooth.
Common Mistakes People Make When Buying Sketching Tools
A lot of people overspend on sketching tools before they know what they need. That is one of the most common mistakes I see. It is easy to get excited by fancy gear, but better tools do not automatically mean better sketches.
Common mistakes include:
- Buying too much at once: This makes it harder to learn what matters.
- Ignoring paper quality: Cheap paper can ruin the drawing feel.
- Choosing based on trends: Popular tools are not always right for your hand.
- Skipping practice: Tools do not create skill by themselves.
- Forgetting ergonomics: Comfort matters for long sessions.
- Using only one tool forever: Variety can improve your range.
I once bought a very expensive stylus because everyone praised it. It worked well, but it was not right for my grip. My hand tired quickly, and that taught me an important truth: the best sketching tools are personal. What works for someone else may not work for you.
The fix is simple. Test tools when possible, start with the basics, and add new items only when you feel a real need.

Sketching Tools for Different Skill Levels
Different skill levels call for different sketching tools. A beginner needs clarity and ease. An intermediate artist may want more control and variety. A professional often needs speed, precision, and reliability.
For beginners:
- Graphite pencils in a few grades
- A basic sketchbook
- A good eraser
- Optional fineliners for line practice
For intermediate users:
- Multiple pencil grades
- Charcoal or colored pencils
- Better paper options
- Digital sketching tools for faster edits
For professionals:
- High quality pencils and pens
- Large sketchbooks or archival paper
- A reliable tablet or pen display
- Software with layers, brushes, and export options
If you are still learning, do not feel pressured to buy advanced tools too soon. Skill grows faster when tools stay simple enough to understand. Once your habits become clear, your tool choices become much smarter.
Sketching Tools for Specific Uses
Not every sketching task needs the same setup. A figure sketch, a product idea, and an architectural study each benefit from different tools. Matching the tool to the job saves time and makes your results stronger.
For figure sketching:
- Soft pencils like 2B or 4B
- Charcoal for expressive lines
- Large sketchbooks for fluid motion
For product sketching:
- Mechanical pencils
- Fineliners
- Smooth paper or a digital tablet
For architecture and perspective:
- Rulers and straight edges
- Technical pens
- Grid paper or digital guides
For travel sketching:
- Pocket sketchbooks
- Portable pencils or pens
- Lightweight digital tablets if you prefer screen drawing
For gesture sketching:
- Soft graphite
- Charcoal sticks
- Tools that encourage quick, loose marks
A practical rule I use is this: if the sketch is meant to explore, choose fast tools. If the sketch is meant to explain, choose precise tools.
How to Care for Your Sketching Tools
Good care makes sketching tools last longer and perform better. It also saves money and keeps your drawings more consistent. A dull pencil or scratched screen can slow you down in ways people often underestimate.
Care tips for traditional tools:
- Keep pencils sharpened
- Store charcoal and pens in cases
- Replace worn erasers
- Keep sketchbooks dry and flat
Care tips for digital tools:
- Clean the screen and stylus tip regularly
- Use a protective cover or film if needed
- Charge batteries before they run too low
- Update software when stable versions are available
One mistake I made early on was using a worn stylus tip for too long. It changed the feel of every stroke and made my lines less accurate. Once I replaced it, the difference was immediate. Small maintenance habits can make a big difference.
What to Look for in Quality Sketching Tools
Quality sketching tools do not need to be expensive, but they should be dependable. A good tool feels balanced, responds well, and stays consistent over time. That consistency matters when you are trying to build confidence.
Look for:
- Comfortable grip: Your hand should relax, not tense up.
- Smooth response: Lines should match your movement.
- Durable build: Tools should hold up under regular use.
- Consistent performance: The same pressure should produce similar results.
- Good paper or surface compatibility: Some tools work better on certain materials.
For digital sketching tools, pressure sensitivity, tilt support, lag, and palm rejection are important. For traditional tools, lead quality, paper texture, and ink flow matter more. The best tool is the one that disappears into your process.
Frequently Asked Questions of sketching tools
What are the best sketching tools for beginners?
The best sketching tools for beginners are simple graphite pencils, a kneaded eraser, and a basic sketchbook. These tools are affordable and help you learn line control, shading, and shape building without distraction.
Are digital sketching tools better than traditional ones?
Digital sketching tools are better for fast edits, layers, and sharing work, while traditional tools are better for learning touch, pressure, and texture. Neither is universally better, so the right choice depends on your goals and comfort.
What paper is best for sketching tools like pencils and charcoal?
Medium-weight sketch paper works well for most graphite sketches, while textured paper is often better for charcoal. Smooth paper is useful for clean line work and technical drawing.
How many sketching tools do I really need?
You only need a few sketching tools to start well. A pencil, eraser, sharpener, and sketchbook are enough for most beginners, and you can add more tools as your style grows.
How do I make my sketching tools last longer?
Store them properly, clean them often, and replace worn parts like pencil tips or stylus nibs when needed. Good habits can keep both traditional and digital sketching tools working well for a long time.
Conclusion
Sketching tools are more than supplies. They are creative partners that help you think, plan, and draw with more confidence. Whether you prefer pencils and paper or tablets and styluses, the right setup can make sketching feel smoother, faster, and far more enjoyable.
If you are just starting, keep things simple and focus on practice. If you already sketch often, look for tools that match your style and support your workflow. Try a few options, pay attention to comfort, and build your kit one smart choice at a time.
Start with what you have, sketch often, and let your tools grow with your skills. If this guide helped, explore more art resources, keep testing what works for you, and share your favorite sketching tools in the comments.