
Drawing still life is the art of observing everyday objects and turning them into believable, expressive images.
If you want to get better at seeing shape, light, shadow, and form, drawing still life is one of the best places to start. I’ve found it to be one of the most useful exercises for beginners and experienced artists alike, because it trains your eye to notice what most people miss. In this guide, I’ll walk you through drawing still life in a practical, clear way, with tips, mistakes to avoid, and techniques you can use right away.
What Is Drawing Still Life?
Drawing still life means making art from objects that do not move. These can be simple items like fruit, cups, books, flowers, shells, bottles, or kitchen tools. The goal is not just to copy what you see, but to study how light hits objects and how shapes sit together in space.
Still life has long been used in art education because it teaches strong fundamentals. When you work from a still life setup, you learn proportion, perspective, value, and composition all at once. That makes drawing still life a powerful practice for building real skill.
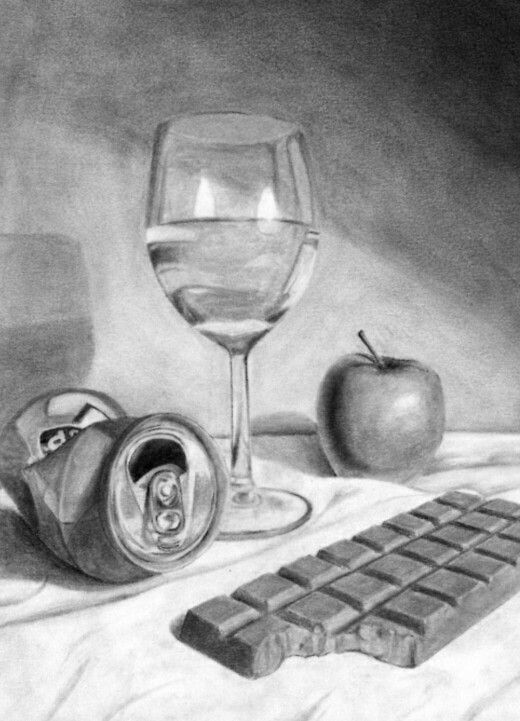
Why Drawing Still Life Matters
Drawing still life is more than a classroom exercise. It helps you slow down and really look, which is a skill many artists struggle with at first. In my own practice, still life drawing often exposed problems in my observation before I even noticed them in finished work.
Here’s why it matters so much:
- It improves observation skills, which are essential for realistic drawing
- It teaches you how light creates form and shadow
- It builds confidence with basic shapes and proportion
- It helps you understand composition and balance
- It gives you a low-pressure way to practice regularly
Many art teachers and professional illustrators use still life because the setup stays still, so you can focus on fundamentals instead of chasing a moving subject. That stability is what makes drawing still life such a dependable learning tool.

What You Need to Start Drawing Still Life
You do not need expensive supplies to begin. A pencil, paper, and a few household objects are enough to create a strong still life drawing session. Simple tools often lead to better results because they keep your focus on skill, not gear.
A basic starter set may include:
- Graphite pencils in a few grades, such as HB, 2B, and 4B
- A sketchbook or drawing paper
- An eraser, ideally a kneaded eraser
- A sharpener
- A table lamp or window light
- A few objects with different shapes and textures
Choose objects that contrast with each other. A round apple, a tall bottle, and a folded cloth work well because they give you a mix of curves, edges, and surface changes. That variety helps you study drawing still life in a more complete way.
How to Set Up a Still Life Drawing
A good setup makes the whole process easier. I learned early that a messy setup can ruin a drawing before the pencil even touches the page. The best still life arrangements are simple, clear, and easy to read.
Follow these steps:
- Pick 2 to 5 objects so the scene stays manageable
- Place them where light falls from one main direction
- Use a plain background if possible
- Arrange objects so they overlap a little, which adds depth
- Check that the group has a clear focal point
Try to avoid placing objects in a straight line. That can make the scene feel flat. Instead, build a small visual path that leads the viewer’s eye through the composition.
If you want a classic study, place one strong light source to create both highlights and shadows. That contrast gives your drawing still life more depth and structure.
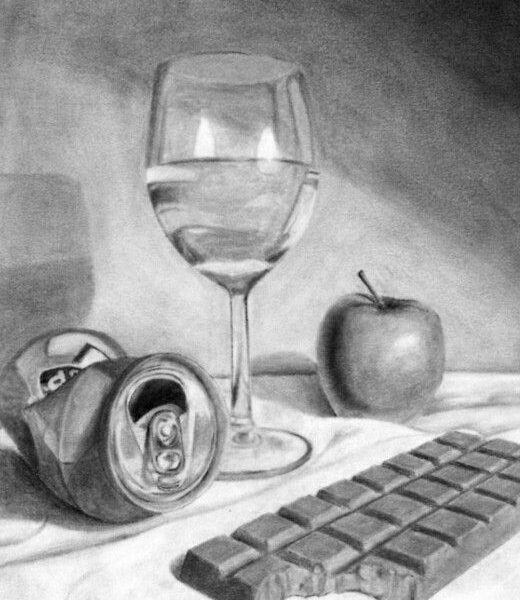
How to Draw a Still Life Step by Step
A clean process helps reduce stress and keeps the drawing accurate. When I teach this to beginners, I always remind them not to rush the first stage. Good still life drawings often begin with simple, careful placement.
1. Sketch the Basic Shapes
Start with circles, rectangles, cylinders, and ovals. Break each object into simple forms before adding detail. This helps you see the structure under the surface.
2. Check Proportion and Placement
Look at the size of one object compared with another. Ask yourself whether the bottle is taller than the apple, or whether the cup is wider than the book. Small measuring checks can save you from big mistakes later.
3. Block In the Shadows
Light and shadow are the heart of drawing still life. Mark the darkest areas first so you can build the rest of the values around them. This gives the drawing a solid base.
4. Refine the Edges and Details
After the main shapes and shadows are in place, start refining contours, textures, and small features. Keep detail where it matters most, and leave less important areas softer.
5. Finish with Value Adjustments
Step back and compare the lightest lights, midtones, and darkest darks. Adjust until the drawing feels balanced. Often, a still life drawing improves most during this final stage.
Light, Shadow, and Value in Drawing Still Life
Value is one of the most important parts of drawing still life. Value means how light or dark something appears. Without good value range, even a well-drawn object can look flat.
Pay attention to these parts of light:
- Highlight, the brightest spot on the object
- Midtone, the middle value across the form
- Core shadow, the darkest part on the object itself
- Cast shadow, the shadow the object throws onto the surface
- Reflected light, a softer light bouncing back into the shadow
One mistake I made often was making shadows too light. Real shadows usually have more depth than beginners expect. If you trust the darks, the drawing usually comes alive.
Art education research and museum teaching resources consistently stress value study because it builds accurate form and depth. That is one reason drawing still life is still used in foundations courses around the world.
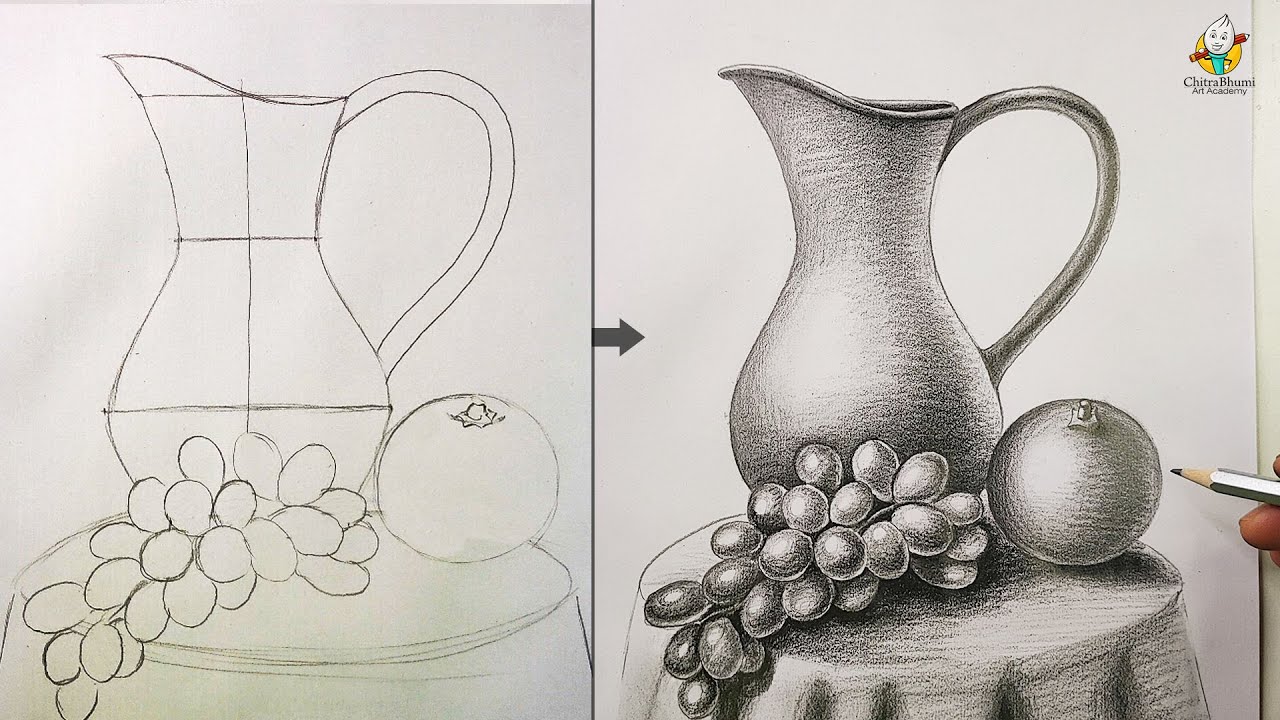
Composition Tips for Better Still Life Drawings
Composition is how the objects are arranged in the frame. A strong composition keeps the viewer interested and makes the drawing feel intentional. Without it, even a technically correct drawing can seem dull.
Use these ideas to improve your composition:
- Vary object heights and shapes
- Create overlap so objects feel connected
- Leave breathing room around the group
- Use odd numbers of objects for a more natural look
- Place the main object slightly off center
Think of composition like arranging a small stage scene. Each object has a role, and the space around them matters just as much as the objects themselves. In drawing still life, empty space can be just as powerful as filled space.
Common Mistakes in Drawing Still Life
Every artist makes mistakes, especially in the beginning. The good news is that still life is one of the best places to spot and fix them. I’ve made most of these myself at some point, and they taught me a lot.
Common mistakes include:
- Drawing outlines too dark at the start
- Ignoring proportions
- Using the same value for everything
- Making shadows too soft or too vague
- Adding too much detail too early
- Choosing objects with no clear light source
A big one is drawing what you think an object looks like instead of what you actually see. This is a classic habit, and it sneaks into every beginner’s work. The cure is to slow down and compare shapes more often.
Techniques That Help You Improve Faster
If you want faster progress in drawing still life, practice with intention. Repeating the same exercise without focus helps a little, but targeted practice helps a lot more. I’ve seen steady improvement come from short, focused studies more than from one long polished drawing.
Useful techniques include:
- Gesture sketching to capture the overall flow quickly
- Contour drawing to strengthen edge control
- Blind contour drawing to improve observation
- Value scale studies to train tonal control
- Shape comparison exercises to improve accuracy
You can also practice with different materials. Pencil, charcoal, ink, and colored pencil each teach something different. Charcoal is excellent for value, while pencil gives more control for fine structure.
Drawing Still Life for Beginners
Beginners often feel overwhelmed by the idea of making something look real. The trick is to keep the subject simple and the goal clear. A small setup with two or three objects is usually enough for a strong learning session.
Try this beginner-friendly approach:
- Use one light source
- Choose simple forms like fruit, mugs, or boxes
- Spend more time on big shapes than tiny details
- Keep your drawing light at first
- Compare angles and heights often
If you are just starting out, do not aim for perfection. Focus on training your eye. Drawing still life is like learning a language; fluency comes from steady practice, not one perfect sentence.
Advanced Ways to Approach Still Life Drawing
Once your basics improve, you can use still life to explore more complex ideas. You can study texture, reflective surfaces, fabric folds, and stronger lighting. This is where drawing still life becomes a real creative playground.
Advanced ideas to explore:
- Glass and metal objects that reflect light
- Transparent objects with layered tones
- Dramatic lighting with strong contrast
- Complex arrangements with overlapping forms
- Limited-value drawings using only light, mid, and dark tones
At this stage, the work becomes less about copying and more about interpretation. You start making artistic choices about what to emphasize, soften, or leave out. That is where style begins to show up.
Benefits of Practicing Drawing Still Life Regularly
Regular practice builds more than technique. It also builds patience, focus, and visual memory. Many artists find that still life work improves their other drawing subjects too, including portraits, landscapes, and figure drawing.
Key benefits include:
- Better hand-eye coordination
- Stronger understanding of light and shadow
- Improved patience and attention to detail
- More confidence in drawing from life
- A deeper sense of composition and design
Still life also offers a calm, reflective kind of practice. When life feels noisy, sitting with a bowl of fruit and a pencil can be surprisingly grounding. That quiet focus is part of why so many artists return to it again and again.
Frequently Asked Questions About Drawing Still Life
What is the easiest object to draw in a still life?
Simple objects like apples, mugs, books, and bottles are great for beginners. They have clear shapes and are easier to measure than highly complex items.
How do you make a still life drawing look realistic?
Focus on proportion, light, shadow, and edge control. Realism usually comes from accurate values and careful observation, not from adding lots of tiny details.
Is drawing still life good for beginners?
Yes, it is one of the best practices for beginners. It teaches the core skills needed for almost every type of drawing, including shape, form, and composition.
How long should a still life drawing take?
It depends on your goal. Quick studies can take 10 to 30 minutes, while detailed drawings may take several hours.
What is the best light for still life drawing?
One clear light source is best, such as a desk lamp or window light. It creates defined shadows and makes the forms easier to understand.
Conclusion
Drawing still life is one of the most useful and rewarding ways to grow as an artist. It teaches you how to see better, measure more accurately, and understand how light builds form. Whether you are a beginner or an experienced artist, regular still life practice can sharpen your skills in a lasting way.
The best part is that you can start with almost nothing and still learn a lot. Set up a few simple objects, take your time, and focus on what you actually see. If this guide helped you, keep practicing, explore different setups, and leave a comment with your favorite still life subject to draw.