
Charcoal portrait drawing creates rich, expressive portraits with deep contrast, soft blends, and bold emotion.
Charcoal portrait drawing has a timeless appeal because it captures more than just a face. It captures mood, depth, and presence. If you want to understand how artists build lifelike portraits with simple black marks, this guide will walk you through the tools, techniques, benefits, and common mistakes that matter most in charcoal portrait drawing.
What Is Charcoal Portrait Drawing?
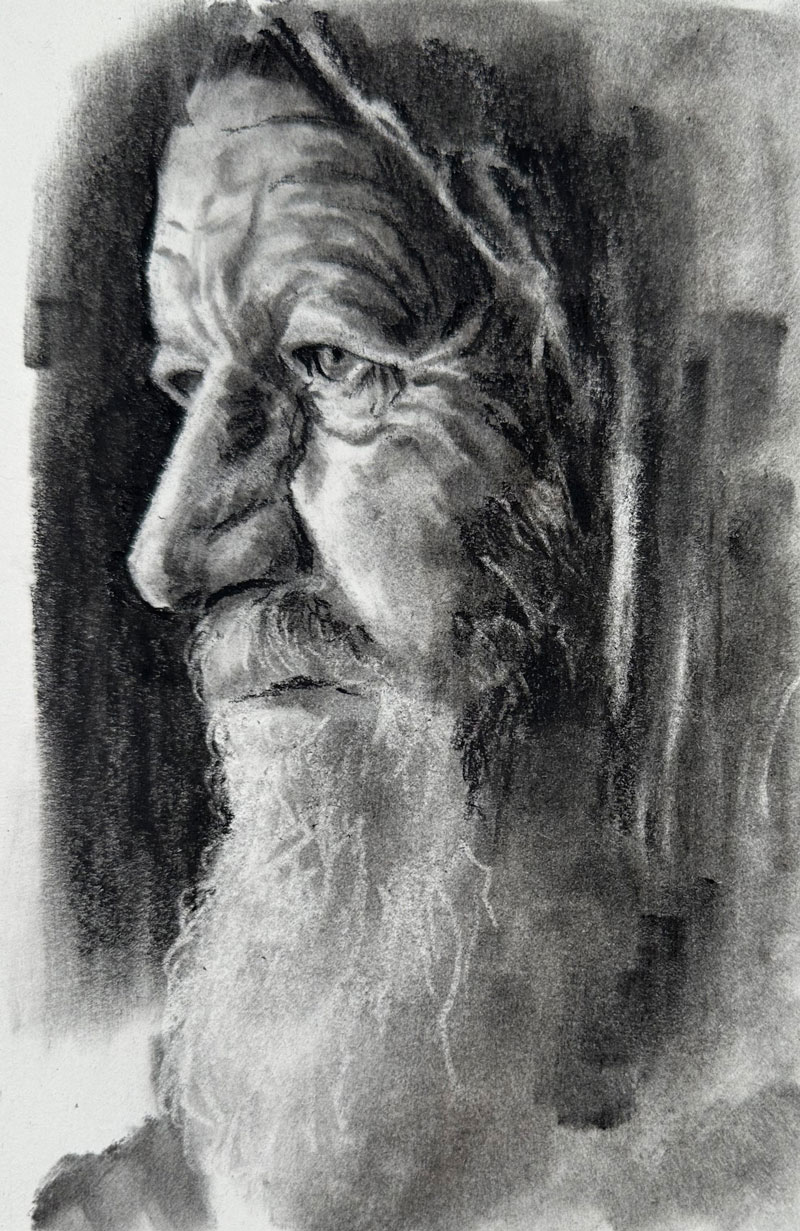
Charcoal portrait drawing is the art of creating a portrait using charcoal sticks, pencils, or powder on paper. Artists use it to build strong shadows, smooth skin tones, and dramatic contrast. It is one of the most expressive drawing methods because charcoal can feel both soft and powerful at the same time.
In my own work, charcoal portrait drawing has always felt a little like sculpting with smoke. The marks can be bold and loose, but they can also be refined to show tiny details like eyelids, lips, and wrinkles. That mix of freedom and control is what makes charcoal so rewarding.
Charcoal is also very forgiving. You can smudge it, lift it, layer it, and redraw sections without starting over. That is why many artists use charcoal portrait drawing to study light, form, and facial structure before moving into paint or digital portrait work.
Why Charcoal Works So Well for Portraits
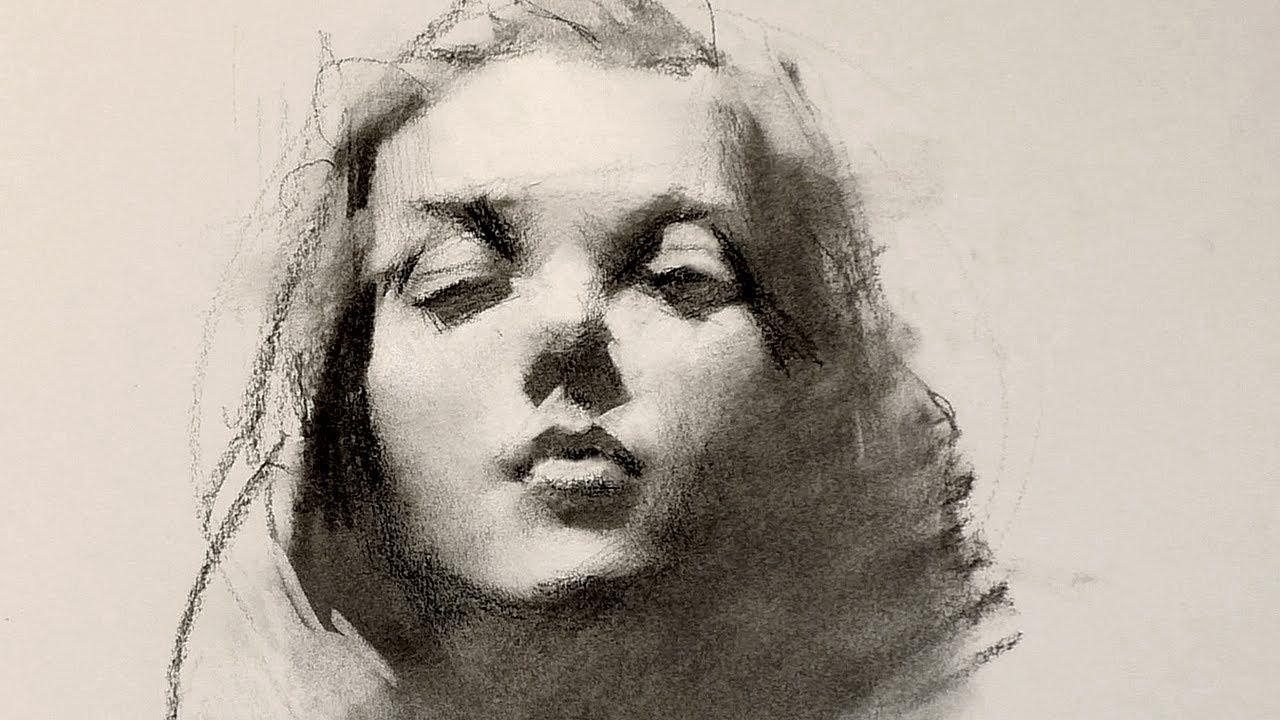
Charcoal portrait drawing is popular because the medium naturally supports facial realism. Faces rely on soft edges, subtle value shifts, and strong shadows, and charcoal handles all three with ease. It gives you a wide range of tones, from deep black to delicate gray.
Here are a few reasons charcoal portrait drawing works so well:
- It creates strong contrast, which makes facial features stand out.
- It blends smoothly, which helps with skin texture and shadow transitions.
- It is easy to erase and lift, so you can correct mistakes as you go.
- It supports both loose sketches and highly detailed work.
- It adds an emotional, classic look that many viewers connect with.
A good charcoal portrait often feels alive because the medium leaves room for atmosphere. A pencil portrait may feel crisp and exact, while charcoal portrait drawing can feel more human and more immediate.
Essential Tools for Charcoal Portrait Drawing
Good tools make a big difference in charcoal portrait drawing. You do not need a huge supply list, but you do need the right basics. The paper, charcoal type, and blending tools all affect the final result.
Charcoal Types
There are a few common charcoal tools used in portrait work:
- Vine charcoal: Light, soft, and easy to erase. Great for sketching and early layout.
- Willow charcoal: Similar to vine, with a smooth feel and light marks.
- Compressed charcoal: Darker and stronger. Best for deep shadows and final accents.
- Charcoal pencils: Good for details like eyes, lashes, and hair strands.
- Charcoal powder: Useful for soft backgrounds and wide shadow areas.
Paper and Surface
Paper matters more than beginners expect. A smooth surface helps with details, while a textured surface holds more charcoal for rich dark tones. Most artists choose:
- Toned paper for faster value building
– Heavy drawing paper that can handle blending and erasing - Paper with enough tooth to grip charcoal particles
Helpful Accessories
A few extra tools make charcoal portrait drawing much easier:
- Kneaded eraser for lifting highlights
- Blending stump or tortillon for smooth transitions
- Soft brush for dust removal
- Fixative spray to reduce smudging
- Masking tape or board to hold the paper steady
I learned early that using cheap paper can make even strong drawing skills feel weak. The charcoal just sits on top or smears too fast. Once I switched to better paper, my portraits improved almost immediately.
How to Start a Charcoal Portrait Drawing
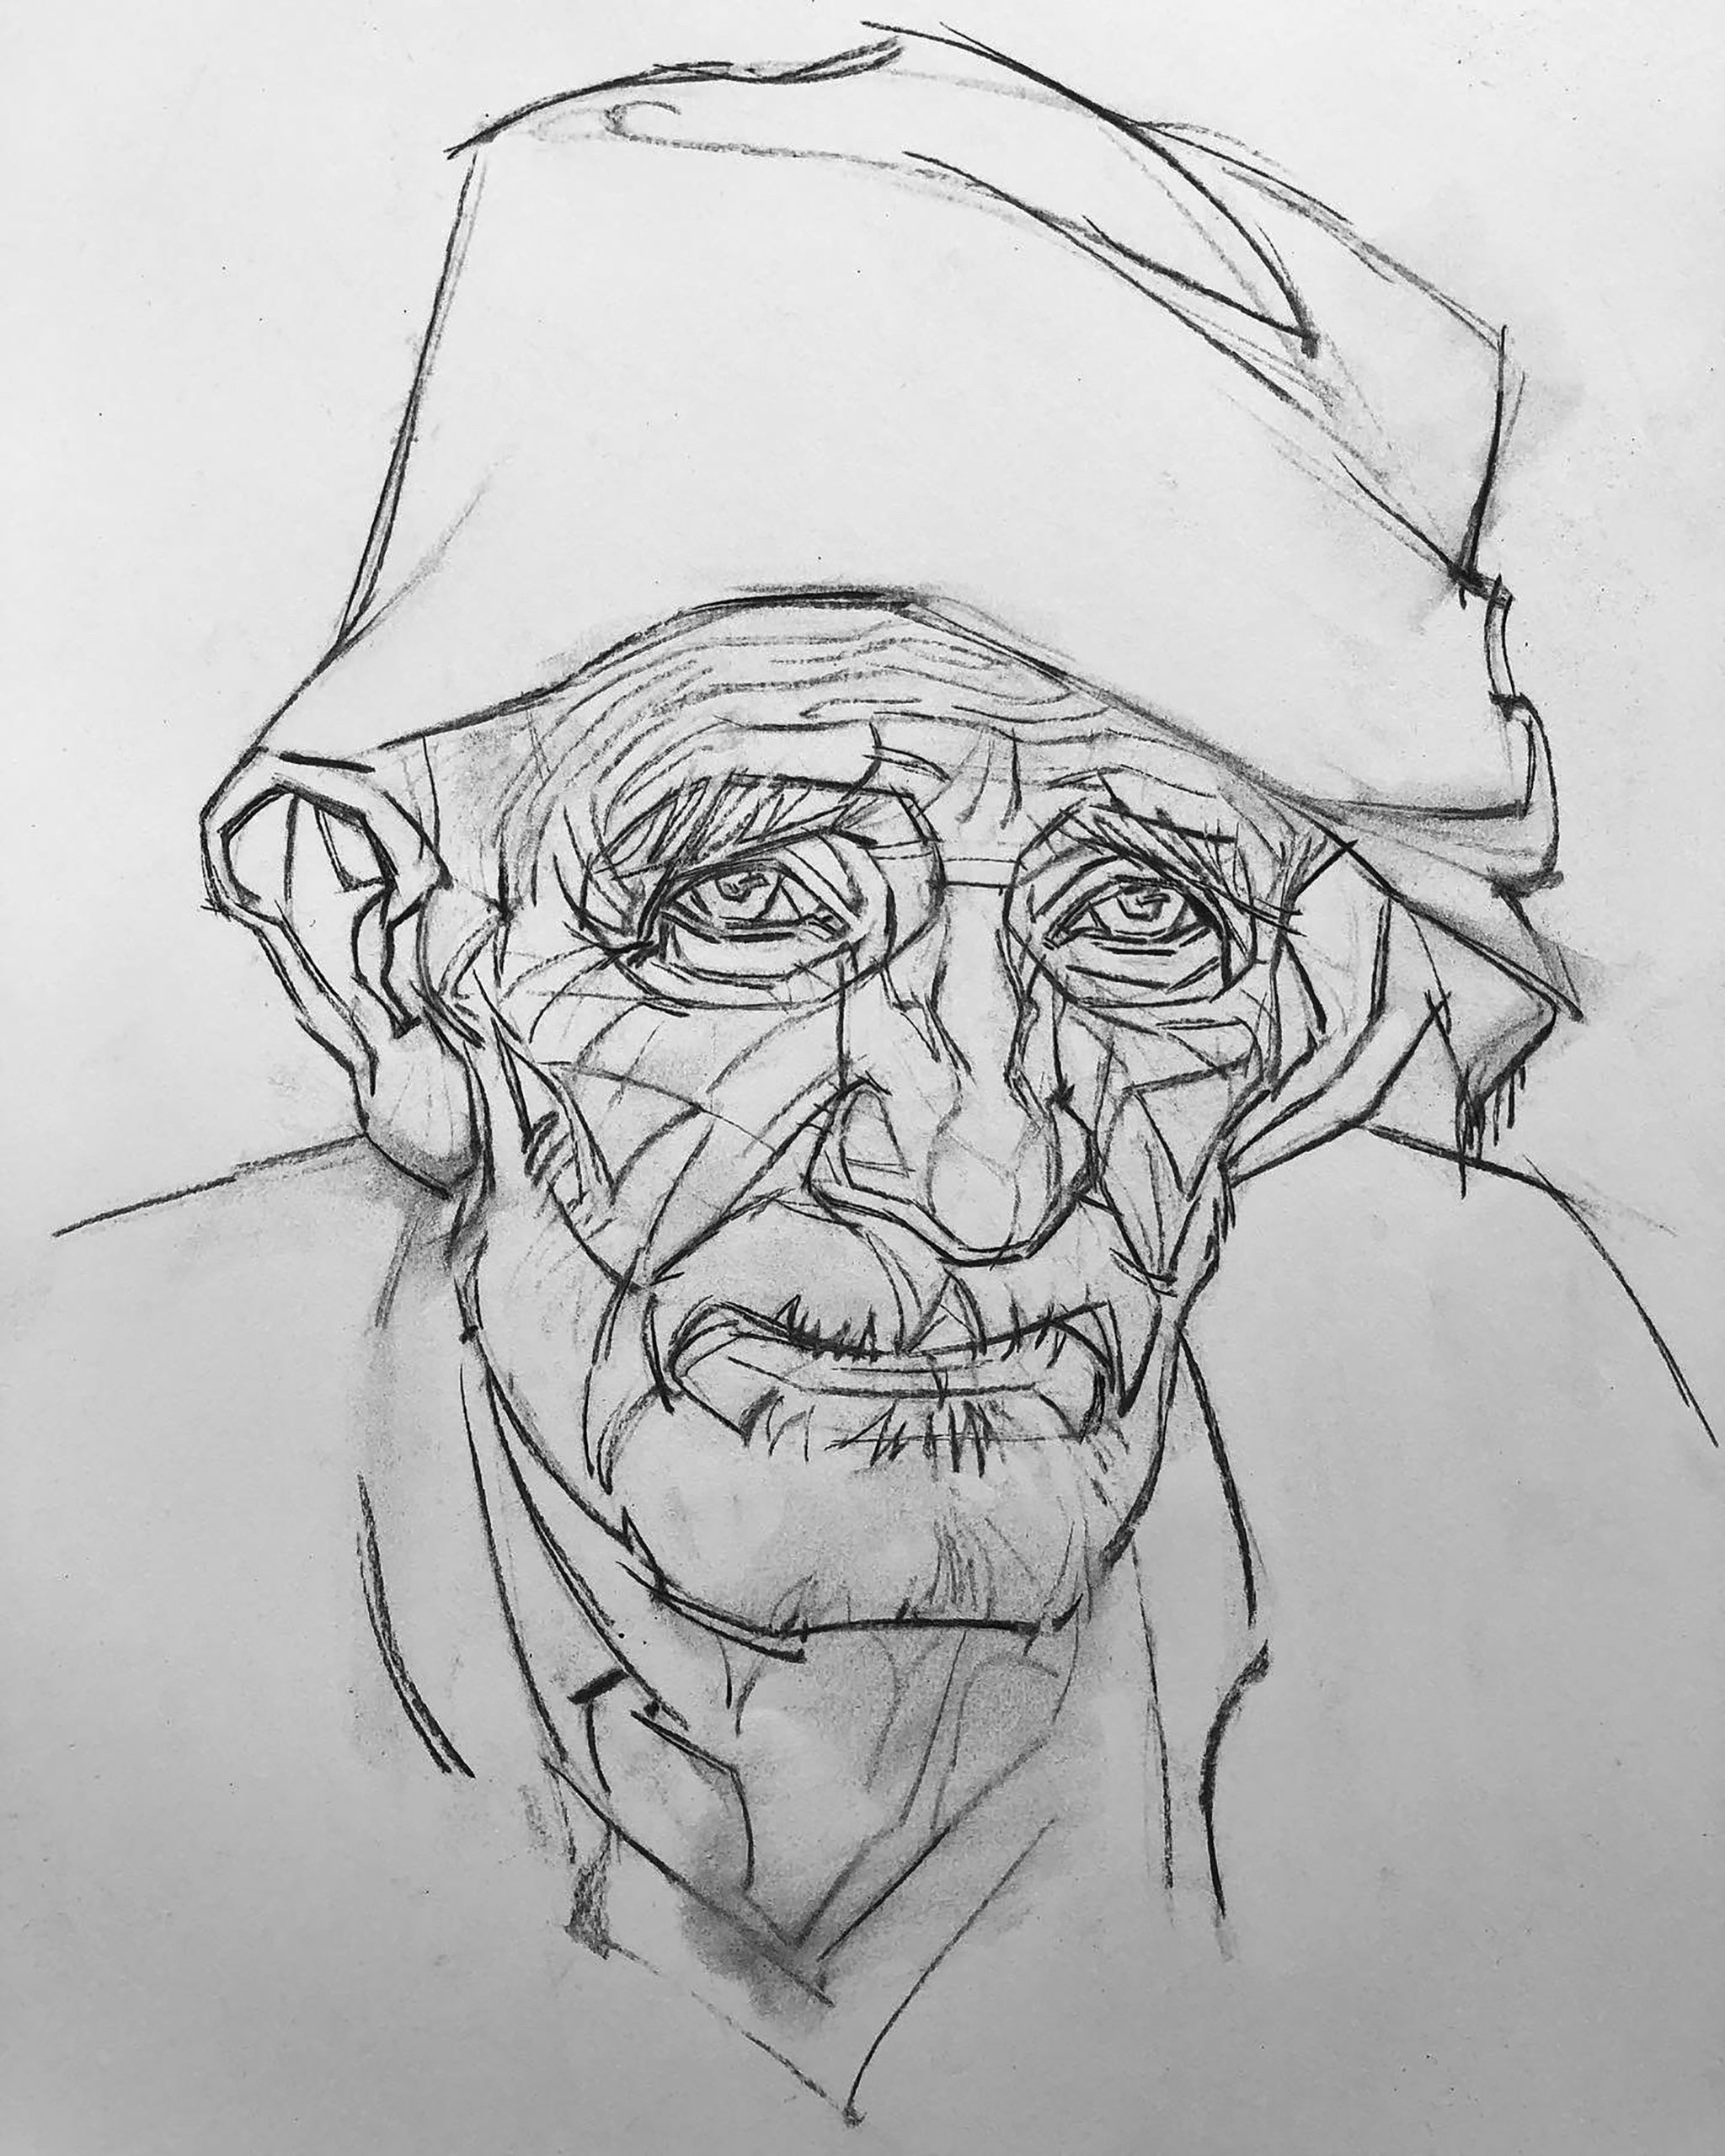
A strong charcoal portrait starts with a simple structure. If the proportions are off at the beginning, the rest of the drawing will feel unstable. I always treat the first stage like building a house frame before adding the walls.
Step 1: Observe the Face Carefully
Before drawing, study the subject’s face as a set of forms. Look at:
- Head shape
- Eye spacing
- Nose width
- Jawline angle
- Light direction
- Shadow shapes
This step matters because charcoal portrait drawing is not only about copying outlines. It is about understanding the structure beneath the features.
Step 2: Sketch the Basic Shapes
Use light charcoal or vine charcoal to block in the large shapes. Keep the lines loose and simple. Focus on the head, eyes, nose, mouth, and ear placement before adding detail.
Step 3: Map the Shadows
Shadows give the portrait life. Instead of shading everything evenly, look for the major dark areas first. This usually includes:
- Eye sockets
- Under the nose
- Under the lower lip
- Side of the face away from the light
- Hair mass and cast shadows
Step 4: Build Midtones and Details
After the shadow map is in place, add midtones slowly. This is where the face starts to feel real. Add small details only after the larger forms look correct.
Step 5: Refine Edges and Highlights
Some edges should be soft, like cheeks and skin shadows. Others should be sharp, like eyelashes or the edge of the nostril. Use a kneaded eraser to pull out highlights on the forehead, nose bridge, cheekbones, and lips.
Techniques That Improve Charcoal Portrait Drawing
Charcoal portrait drawing becomes much easier once you understand a few core techniques. These methods help you control value, texture, and realism without making the portrait look stiff.
Blending
Blending softens charcoal and creates natural skin tones. Use a stump, tissue, or even a soft brush. Be careful not to overblend, because too much smoothing can make the portrait flat.
Layering
Layering builds depth. Start light and darken slowly. This method gives you more control and prevents the drawing from getting muddy too quickly.
Lifting
Lifting is the opposite of adding charcoal. You remove material with an eraser or clean tool to create highlights. This is especially useful for bright areas like the tip of the nose, the lower eyelid, or reflected light on the cheek.
Cross-Hatching and Directional Marks
Not every area needs heavy blending. Sometimes visible marks create better texture. Directional strokes can suggest hair, facial planes, or fabric folds around the portrait.
Edge Control
Soft edges suggest distance, shadow, or rounded forms. Hard edges suggest focus and sharper detail. Good charcoal portrait drawing uses both in the right places.
From experience, edge control is one of the biggest signs of skill. Many beginners shade everything the same way. That makes the face look dull. When you vary the edges, the portrait starts breathing.
Common Mistakes in Charcoal Portrait Drawing
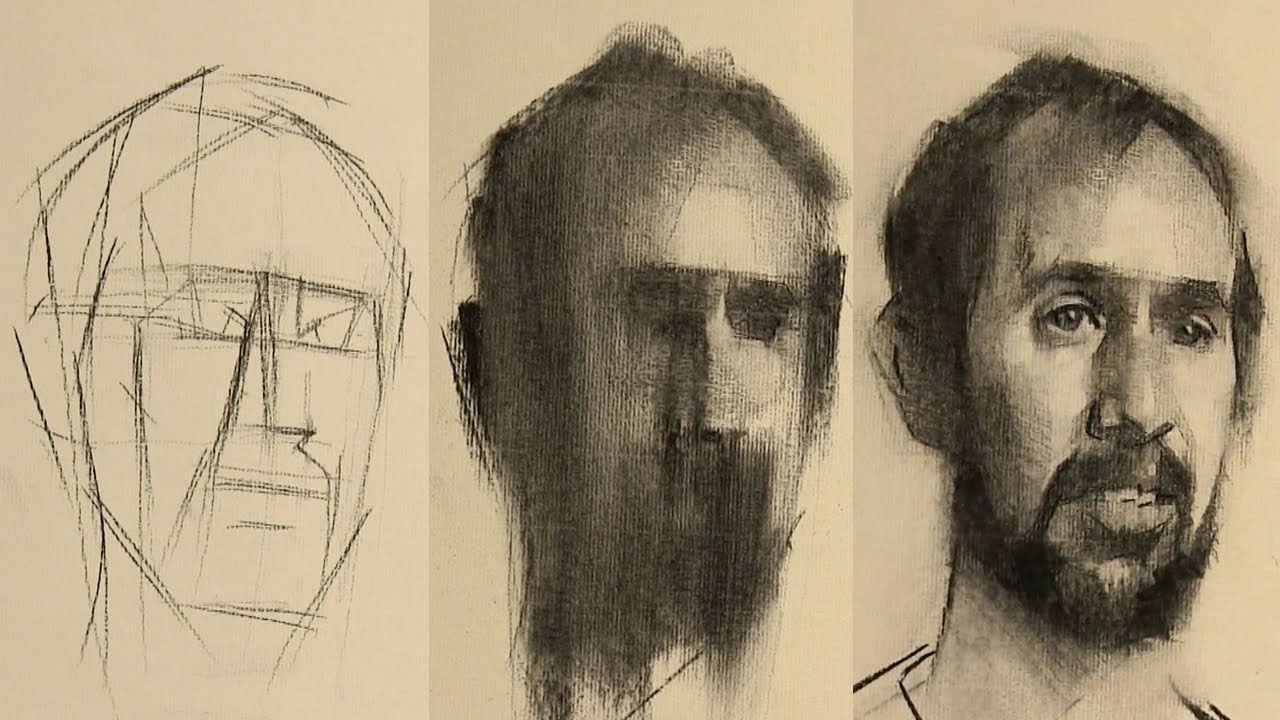
Every artist makes mistakes in charcoal portrait drawing. The goal is not perfection. The goal is to notice the problems early and fix them before they spread.
Common mistakes include:
- Starting with dark lines too soon
- Ignoring facial proportions
- Overblending and losing form
- Making all shadows the same value
- Forgetting that light has direction
- Using too much fixative too early
- Rushing the eyes before the rest of the face is placed
One mistake I made often was getting attached to details too early. I would polish one eye while the whole face was still slightly off. That usually caused the portrait to feel unbalanced. Now I wait until the structure is solid before I chase details.
Benefits of Charcoal Portrait Drawing
Charcoal portrait drawing offers both artistic and practical benefits. It is a strong medium for learning, expression, and skill growth.
Some key benefits include:
- It strengthens your understanding of light and shadow.
- It helps you learn value control faster than many other mediums.
- It supports expressive, emotional art.
- It is affordable compared with many paint-based materials.
- It helps train observation and patience.
- It is useful for both beginners and advanced artists.
Charcoal also teaches confidence. Because it is so direct, you have to make decisions. That can feel intimidating at first, but it improves your visual judgment over time.
Limitations of Charcoal Portrait Drawing
Charcoal portrait drawing is powerful, but it does have limits. It can smudge easily, and that means you need care when storing or handling finished work. It also tends to work best on paper designed for dry media.
Other limitations include:
- Less precision than some ink or graphite approaches
- Smudging during the drawing process
- Difficulty preserving very bright whites without planning
- Need for fixative in many finished works
- Sensitivity to humid or oily hands
That said, these limitations are manageable. Most of them become easier once you learn how to control your workspace and your process.
Charcoal Portrait Drawing for Beginners
If you are new to charcoal portrait drawing, keep your first goals simple. Do not aim for a masterpiece right away. Aim for strong proportions, clear light, and a calm process.
A beginner-friendly practice plan might look like this:
- Draw simple head shapes from reference photos.
- Practice shading spheres, cubes, and planes.
- Study one facial feature at a time.
- Draw the same portrait in three value levels: light, medium, dark.
- Practice lifting highlights with a kneaded eraser.
Beginners often improve faster when they focus on structure instead of detail. The face will look convincing if the shadow shapes and proportions are strong, even before the eyelashes or hair are perfect.
How to Make Charcoal Portraits Look More Realistic
Realism in charcoal portrait drawing comes from observation, patience, and value control. The face is not made of outlines. It is made of planes, shadows, and subtle transitions.
To improve realism:
- Compare angles and distances often.
- Observe where the light source hits the face.
- Use a full range of values, not just gray middle tones.
- Keep some areas softer and less defined.
- Add skin texture carefully, not everywhere.
- Pay attention to the eyes, but do not overwork them.
A useful trick is to step back from the drawing every few minutes. When you look at it from a distance, proportion problems become easier to spot. I do this constantly, and it saves me from overworking areas that looked fine up close but wrong from afar.
Charcoal Portrait Drawing and Art Education
Charcoal portrait drawing is widely used in art schools and drawing classes because it teaches core skills quickly. Students learn anatomy, shading, and composition in a hands-on way. It is also common in figure drawing and portrait studies because it responds fast to changes.
Many art educators value charcoal because it encourages observation instead of tracing or overreliance on detail. That is one reason charcoal portrait drawing stays relevant even in digital art culture. It gives you a physical sense of value, pressure, and form that transfers well to other media.
Frequently Asked Questions
What is the best charcoal for portrait drawing?
Compressed charcoal is best for deep darks and final accents, while vine charcoal is better for sketching and early structure. Many artists use both in the same portrait for more control.
How do I stop charcoal portrait drawings from smudging?
Use clean paper under your hand, work from top to bottom if possible, and apply fixative when the drawing is finished or mostly finished. Storing the artwork in a flat folder also helps protect it.
Is charcoal portrait drawing good for beginners?
Yes, it is one of the best mediums for beginners because it is forgiving and easy to blend or erase. It also teaches value and proportion quickly, which helps build strong drawing habits.
What paper works best for charcoal portrait drawing?
Medium to heavy drawing paper with some tooth works well because it holds charcoal better. Toned paper is also a strong choice since it helps you build both highlights and shadows more easily.
How do I make a charcoal portrait look more lifelike?
Focus on accurate proportions, clear shadow shapes, and varied edges. Realism comes from careful observation, not from adding too many tiny details too early.
Conclusion
Charcoal portrait drawing is a powerful way to study faces, light, and emotion. It gives you rich shadows, soft blends, and a classic look that few other dry media can match. More importantly, it teaches patience, observation, and the value of working from structure to detail.
If you are starting out, keep your process simple and steady. Practice the basic shapes, watch the shadows, and let each drawing teach you something new. Try the techniques here on your next portrait, and keep building from there. If you found this guide helpful, explore more art resources or leave a comment with your own charcoal portrait drawing experience.