
Sketching animals helps you capture life, motion, and personality with simple lines.
If you’ve ever tried to draw a dog’s alert ears, a cat’s soft curve, or a bird’s quick pose, you already know that sketching animals is both fun and challenging. It asks you to see shape, rhythm, and balance all at once. In this guide, I’ll walk you through the core ideas behind sketching animals, share practical techniques that work in real life, and help you avoid the mistakes that slow most people down.
Why sketching animals is worth learning
Sketching animals is one of the best ways to train your eye and hand at the same time. Animals move fast, which forces you to notice the biggest shapes first instead of getting stuck on tiny details. That skill helps with everything from pet portraits to wildlife art.
I’ve found that animal sketching also builds patience. Early in my own practice, I used to chase details too soon, and my drawings felt stiff. Once I started focusing on gesture, proportion, and simple structure, my sketches became looser and much more alive.
There are also creative benefits beyond drawing itself:
- You learn to observe movement, weight, and balance more clearly.
- You get better at simplifying complex forms.
- You build confidence drawing from reference and from life.
- You improve your ability to create expressive art with fewer marks.
Animal drawing is common in art education because it teaches visual problem solving. It combines anatomy, design, and timing in a way that keeps your brain engaged. That is why sketching animals is such a useful habit for beginners and experienced artists alike.
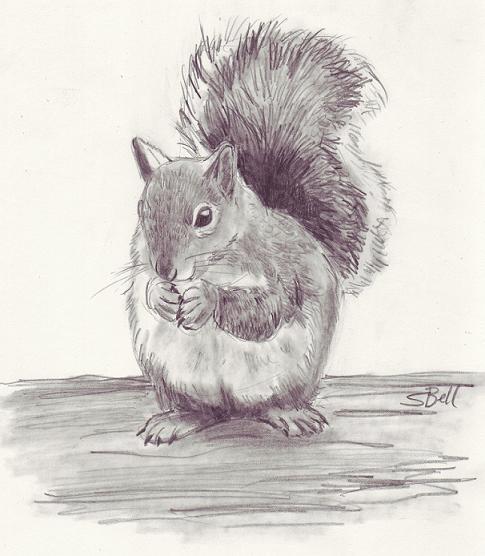
The core building blocks of animal sketching
Before you draw fur, feathers, or scales, you need to understand the basic structure under the surface. Every animal has a simple foundation made of large forms. When you learn that foundation, sketching animals becomes much less intimidating.
Think of it like building a house. You do not start with the curtains. You start with the frame.
Start with gesture
Gesture is the first energy line of the pose. It captures the flow, action, and direction of the animal. A cat stretching, a horse running, and a bird perching all have different gestures.
To practice gesture:
- Use quick 20 to 60 second sketches.
- Draw the line of action first.
- Focus on movement, not details.
- Keep your marks loose and light.
This approach helps your drawings feel natural instead of frozen. It also trains you to notice how animals really hold their bodies.
Break the body into simple shapes
Most animals can be built from circles, ovals, cylinders, boxes, and wedges. A dog might begin with a circle for the head, a larger oval for the ribcage, and smaller forms for legs and muzzle. A rabbit can start with two rounded masses and a few connecting shapes.
This method works because it reduces confusion. Instead of thinking, “How do I draw a deer?” you think, “What simple forms make up a deer?” That shift makes sketching animals easier and more consistent.
Watch proportions closely
Proportion matters more than detail in the early stage. If the head is too big or the legs are too short, the whole drawing will feel off. Even a beautiful texture cannot fix bad structure.
A few useful habits:
- Compare head size to body size.
- Measure leg length against the torso.
- Check where the eyes, ears, and joints sit.
- Look at the width of the chest and hips.
I still check proportions before anything else when I sketch animals. It saves time and prevents that common “something feels wrong” problem.
Tools that make sketching animals easier
You do not need expensive tools to get started. In fact, simple tools often help you focus more on drawing and less on gear. The best tools are the ones you can use comfortably and often.
Basic tools to use
- Graphite pencils for clean structure and soft shading.
- Sketchbooks with smooth or lightly textured paper.
- Erasers for correcting proportion and shape.
- Fineliners for confident line work.
- Charcoal or graphite sticks for bold value studies.
If you like digital art, a tablet and stylus can work very well too. The same principles still apply. Gesture, proportion, and form matter whether you draw on paper or screen.
Choosing the right reference
Good reference images are important for accurate sketching animals. Choose photos with clear lighting, visible anatomy, and a pose you can understand. If the image is blurry or badly lit, your sketch will be harder to read.
Best reference types include:
- Side views for structure practice.
- Front views for symmetry studies.
- Action shots for gesture and movement.
- Multiple images of the same animal for comparison.
When I was learning, I used too many dramatic photos and not enough clear ones. That made anatomy harder than it needed to be. Clear reference builds better habits.
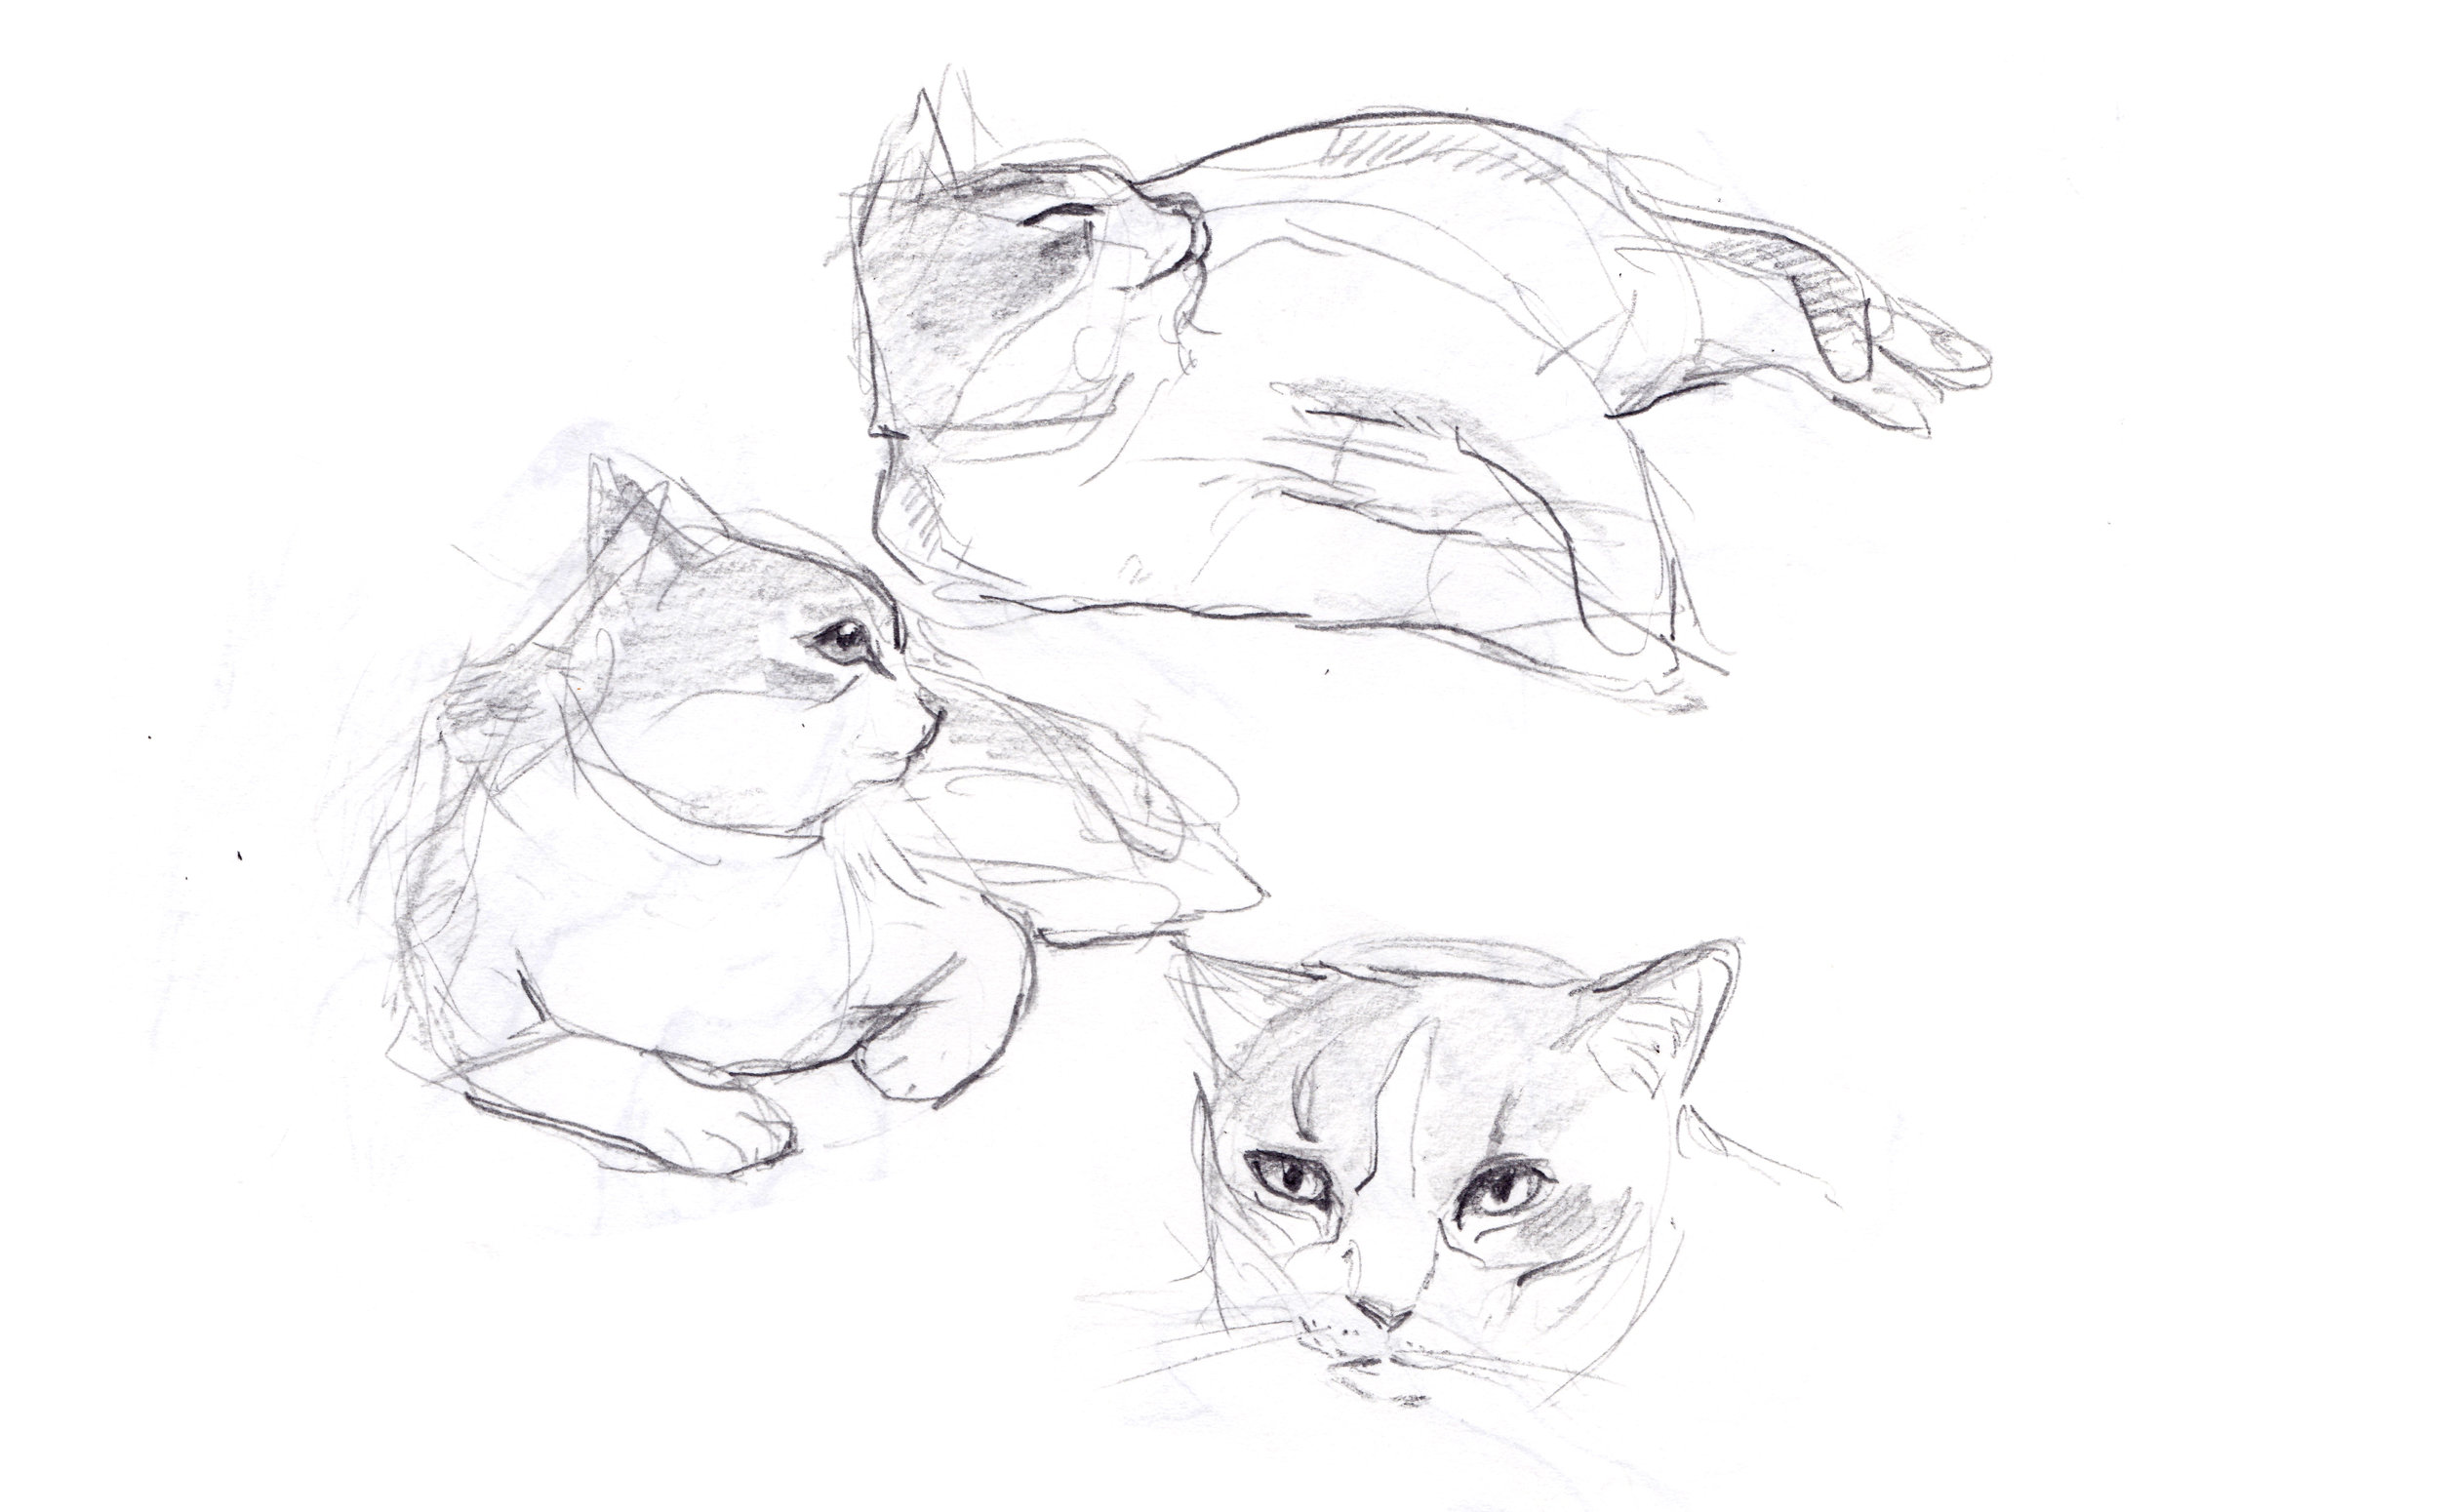
Step-by-step process for sketching animals
A simple process keeps your sketching animals practice organized. It also lowers stress because you always know what comes next.
1. Observe before drawing
Look at the animal for a moment before making any marks. Notice the main angle of the body, the length of the legs, and the shape of the head. Ask yourself what stands out most.
This short pause helps you avoid random lines. It gives your brain a chance to map the pose before your pencil starts moving.
2. Draw the gesture line
Start with one light line that shows the action of the pose. For example, a jumping cat may have a curved line from head to tail. A standing cow may have a more stable, vertical flow.
The gesture line is like the spine of your sketch. It holds everything together.
3. Add basic forms
Build the body from large shapes. Keep them simple at first. A chest, belly, head, and legs are enough to begin.
Do not worry about ears, fur, or eyes yet. Those come later. Right now you are building the animal’s frame.
4. Refine anatomy
Once the basic shapes feel right, add joints, paws, snouts, tails, and other features. Check how the limbs bend and where the weight rests. This is where sketching animals starts to feel more specific.
A helpful rule is to ask, “Does this look like it could stand, walk, or jump?” If not, adjust the structure.
5. Clean up the lines
After the structure works, strengthen the best lines and erase the weak ones. Keep the marks that support the pose. Remove anything that confuses the shape.
This stage is where your sketch starts to look intentional. Strong line choices matter as much as accuracy.
6. Add texture and shading
Texture gives your animal character. Short strokes can suggest fur. Soft shading can show roundness. Light line clusters can suggest feathers or scales.
Use shading to describe form, not just dark areas. The goal is to show how light moves across the body.
How to sketch different animals
Different animals need slightly different approaches. Once you understand the main type of body you are drawing, the rest becomes easier. Here are a few common examples.
Sketching cats and dogs
Cats and dogs are great practice subjects because they are familiar, but their bodies still require careful observation. Cats often have elegant curves and flexible spines. Dogs usually have stronger chest shapes and varied head types.
For cats and dogs:
- Study the head shape first.
- Pay attention to ear placement.
- Watch the slope of the back.
- Compare front legs to hind legs.
- Capture tail movement for personality.
A small tip from experience: when sketching a dog, I always check the muzzle length first. That one feature can change the whole breed type.
Sketching birds
Birds look simple at first, but their wing shapes and body angles can be tricky. Start with an oval body, a small head, and a clear beak direction. Then add wing placement and leg position.
For birds:
- Study the silhouette.
- Notice how wings fold.
- Keep the body compact.
- Use small marks for feather groups.
- Draw the eye and beak with care.
Birds often look best when you simplify their feather detail. Too much texture can make them heavy and flat.
Sketching horses and farm animals
Horses, cows, goats, and sheep have larger bodies and clearer weight patterns. Their size helps with studying anatomy, but their proportions can still be hard to judge. Horses especially require attention to leg joints and body mass.
For farm animals:
- Map the chest and pelvis early.
- Check leg angles carefully.
- Keep the neck connection natural.
- Use broad shading for volume.
- Avoid over-detailing at the start.
Horses taught me one important lesson: if the legs do not support the body, the whole sketch collapses. Weight is everything.
Sketching wild animals
Wild animals like lions, bears, deer, and foxes often feel more dramatic in pose and shape. Their anatomy can vary more by species, but the same rules still apply. You still begin with gesture and large forms.
For wildlife sketching:
- Focus on action and survival behavior.
- Learn the body type of each species.
- Use references from trusted sources.
- Study how the animal stands, runs, or rests.
- Keep the pose believable.
Wild animal sketching is rewarding because it connects anatomy with storytelling. A crouching fox or alert deer can say a lot with very few lines.
Common mistakes in sketching animals
Everyone makes mistakes while learning sketching animals. The good news is that most of them are easy to fix once you know what to watch for.
Drawing details too early
This is the biggest mistake I see. Beginners often jump straight to eyes, fur, or patterns before the structure is in place. That usually leads to a drawing that looks busy but not solid.
Fix it by:
- Starting with gesture and shapes.
- Saving details for the final stage.
- Checking proportion before texture.
Ignoring the skeleton under the surface
Animals may look soft, but their bodies are built on bone and muscle. If you ignore that structure, the pose can feel weak or impossible. Even a stylized sketch benefits from believable anatomy.
You do not need to memorize every bone. Just understand the major joints and body masses.
Using one line for everything
A single outline can flatten the animal. Real form needs line variety. Some lines should be light, some bold, and some broken.
Try to use line weight to show depth and focus. Thicker lines can help with shadows or foreground edges. Lighter lines can soften areas that turn away from the viewer.
Copying the photo without understanding it
Photo copying can teach surface shape, but it does not always teach form. If you only trace what you see, you may struggle when the pose changes. That is why it helps to ask what the animal is doing, not just what it looks like.
Understanding matters more than imitation.
How to improve faster
Improvement in sketching animals comes from smart repetition, not just more pages. The best progress happens when you draw, review, and adjust your method.
Practice with short studies
Short studies are powerful because they reduce pressure. Draw five to ten animals in a session, each in a few minutes. This builds speed and confidence.
Good short study ideas:
- 1 minute gesture sketches
- 5 minute structure studies
- 10 minute shading practice
- Side-by-side comparison drawings
Use the same animal more than once
Drawing the same animal multiple times helps you notice patterns. You start to understand what stays the same and what changes. That makes sketching animals feel less random.
For example, sketch a cat sitting, walking, and stretching. You will quickly see how the spine, shoulders, and hips work together.
Keep a mistake notebook
A mistake notebook is one of the best learning tools I ever used. After each session, write down one thing that looked off and one thing that worked. That habit makes your practice more honest and useful.
It may sound simple, but it keeps you from repeating the same errors for months.
Benefits of sketching animals beyond art
Sketching animals does more than improve your drawings. It sharpens how you observe the world. You begin noticing how posture reveals emotion, how balance shows weight, and how movement shapes form.
Other benefits include:
- Better focus and patience
- Stronger visual memory
- Improved hand-eye coordination
- More confidence with figure drawing
- A deeper appreciation for nature and wildlife
Many artists also find animal sketching calming. There is something grounding about slowing down and studying a living form. It can feel like a quiet conversation between you and the page.
Expert tips for more natural animal sketches
A few simple habits can make a big difference in your results. These are the things that helped me most over time.
- Draw what you see, not what you expect.
- Keep your first lines light.
- Compare shapes before adding detail.
- Study movement as much as anatomy.
- Use reference often, even for animals you know well.
- Practice from life when possible, such as pets or zoo visits.
One of the most useful lessons I learned is that imperfect sketches are often the best teachers. A sketch that feels a little awkward can show exactly what you need to improve next.

Frequently Asked Questions of sketching animals
What is the best way to start sketching animals?
Start with simple gesture lines and basic shapes. This keeps the drawing loose and helps you capture the animal’s pose before adding details.
Do I need to know anatomy to sketch animals?
You do not need advanced anatomy knowledge to begin, but basic structure helps a lot. Learning the main body masses and joints makes your sketches more believable.
How can I make my animal drawings look more realistic?
Focus on proportion, form, and light before texture. Realism usually comes from accurate structure and careful shading, not from adding more detail alone.
Is sketching animals harder than sketching people?
It can be, especially because animals move quickly and vary a lot by species. But the same core rules apply: gesture, proportion, and structure.
How often should I practice sketching animals?
Short daily practice works best if you can manage it. Even 15 to 20 minutes a day can build strong habits over time.
Conclusion
Sketching animals is one of the most rewarding ways to grow as an artist because it teaches observation, structure, and expression all at once. When you start with gesture, build from simple shapes, and stay patient with anatomy, your sketches gain life and confidence. The biggest gains usually come from steady practice, clear reference, and a willingness to learn from mistakes.
If you want to get better, keep your sessions short, study one animal at a time, and review what each drawing taught you. Open your sketchbook today, choose one animal, and make a few quick studies. Then keep going, because every sketch brings you closer to seeing like an artist.