
Sketching from photos is tracing real life into clean lines, shapes, and expressive art.
Sketching from photos is one of the most useful ways to train your eye and build drawing skill fast. I’ve used it for portraits, travel scenes, and product studies, and the big lesson is simple: a photo is not a shortcut, it is a tool. When you know how to sketch from photos well, you can capture structure, light, and mood with much more confidence.
What Sketching from Photos Really Means
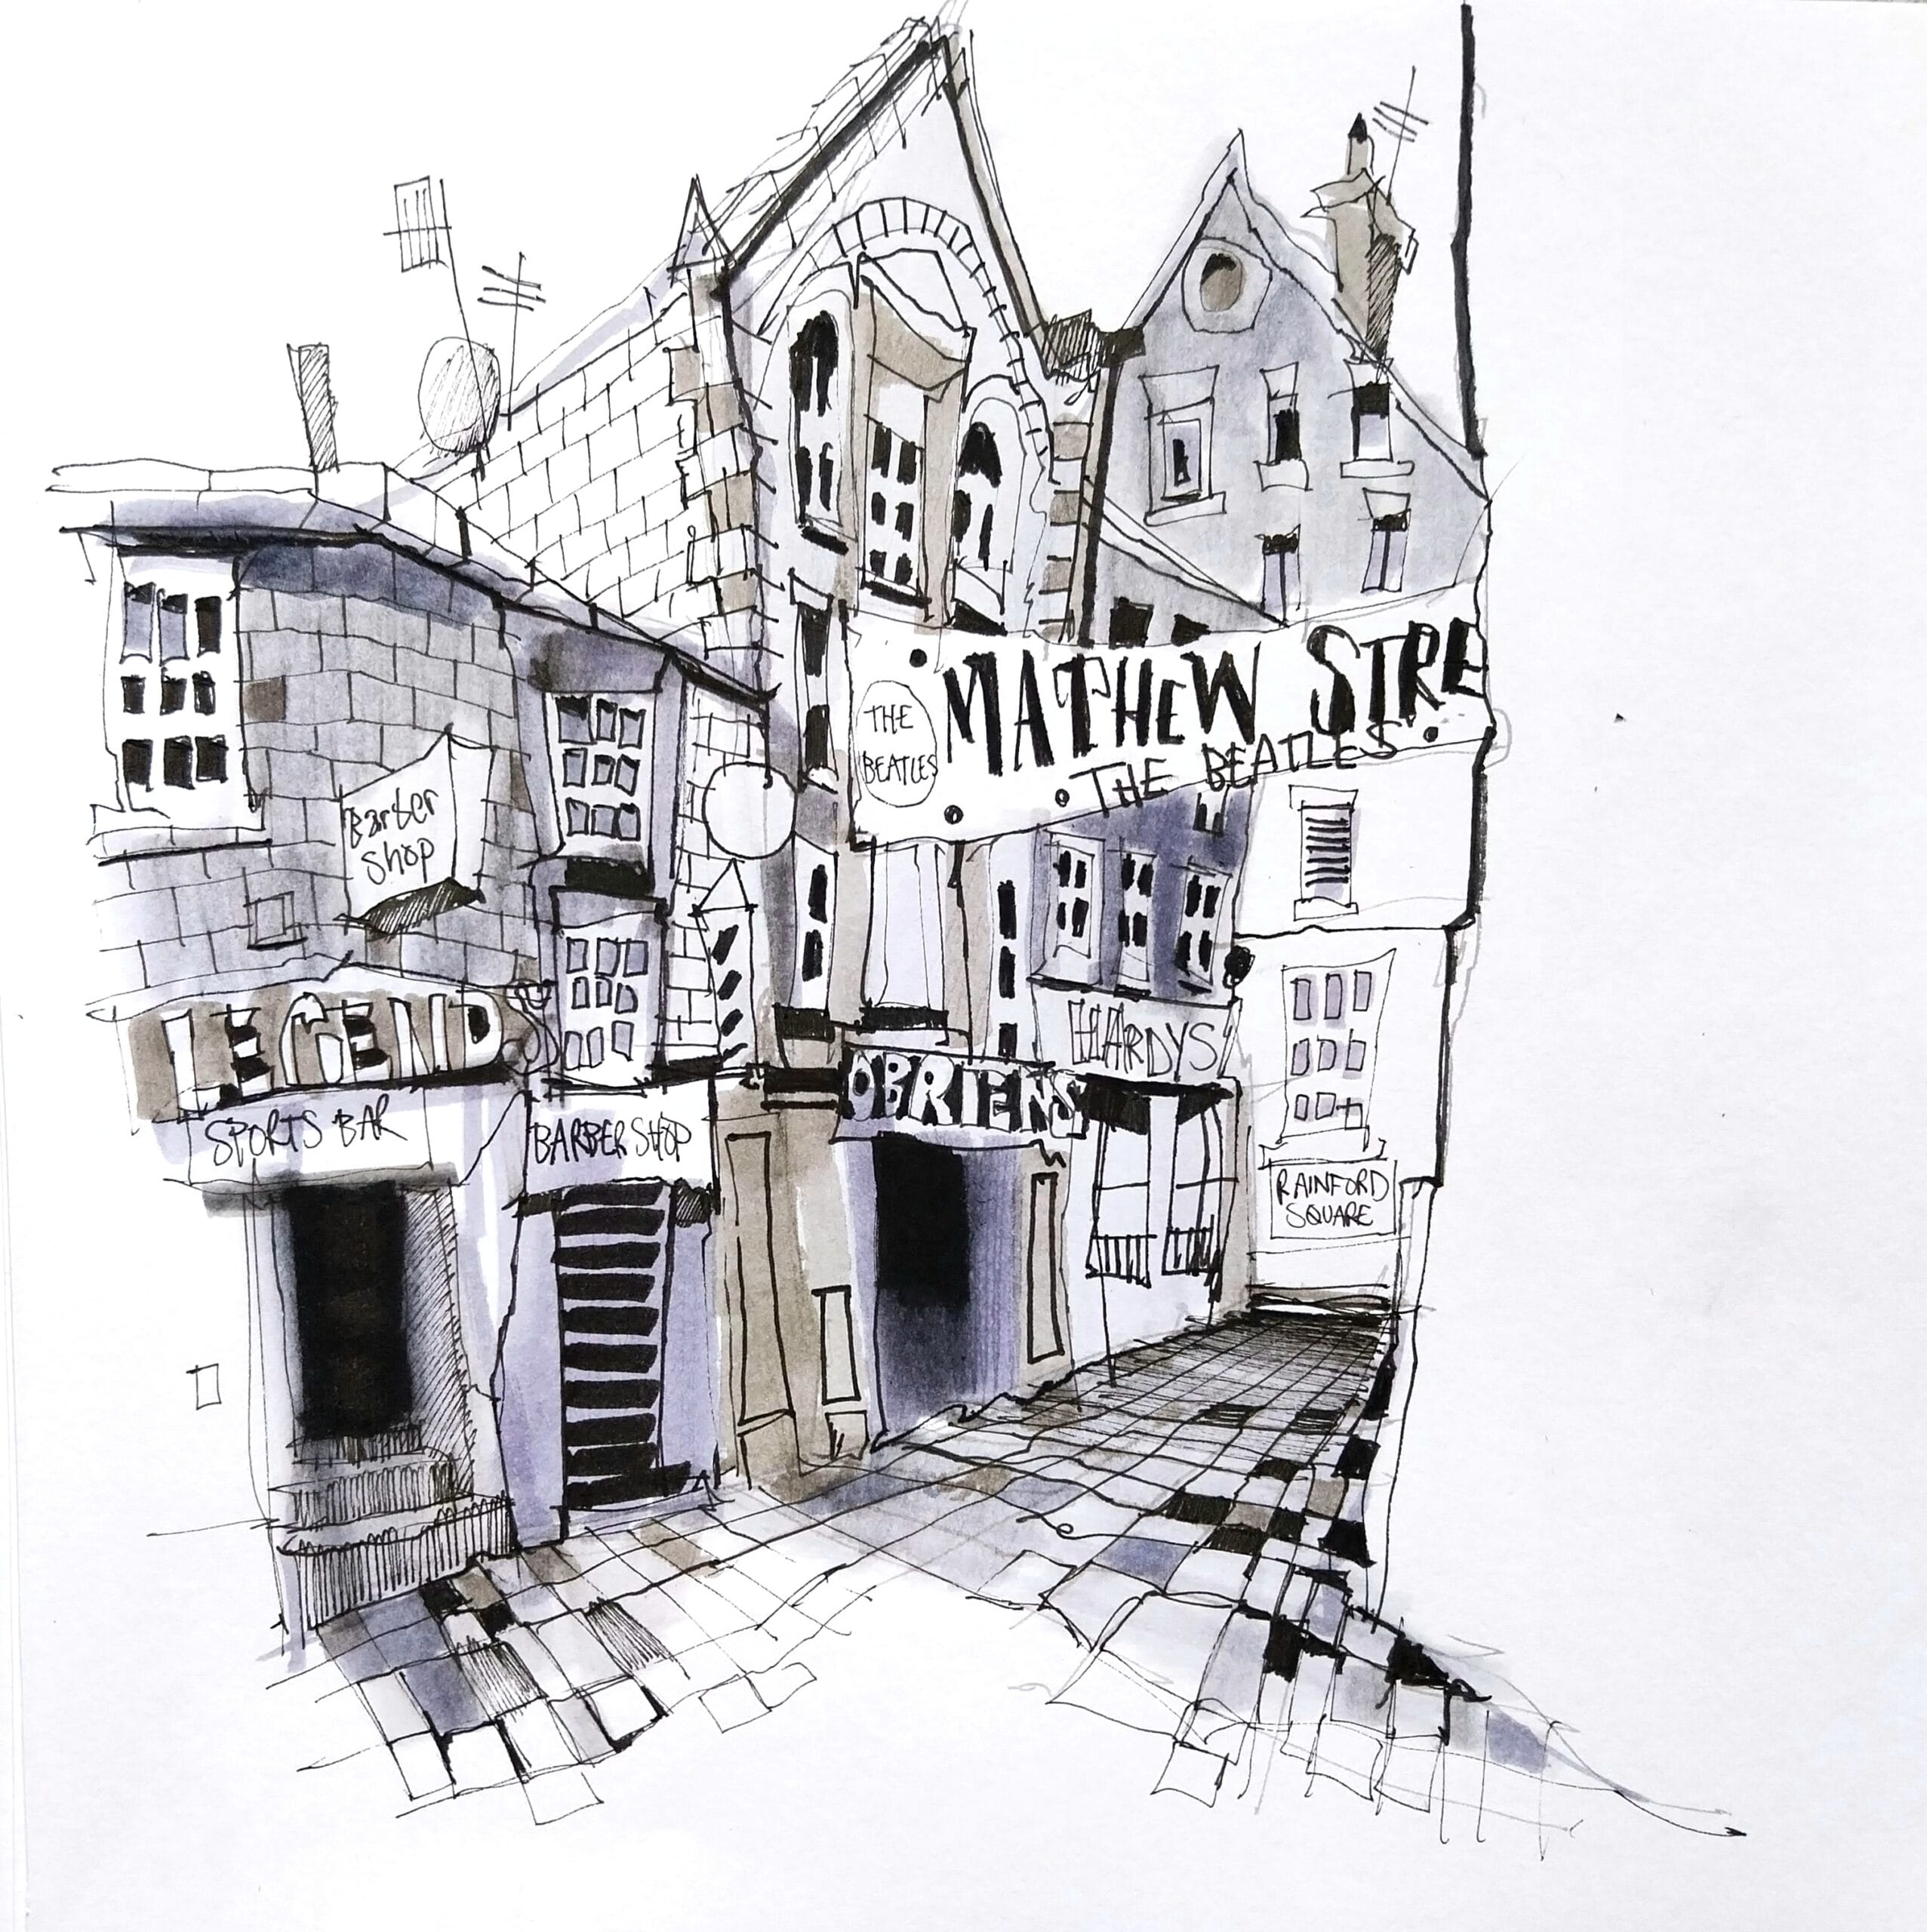
Sketching from photos means using a reference image to study and draw what you see. It can be a quick pencil sketch, a detailed graphite drawing, or a loose digital study. The goal is not to copy blindly, but to understand form, proportion, edges, value, and composition.
Many beginners think sketching from photos is “cheating.” It is not. Artists, illustrators, animators, designers, and concept artists all use reference images because the human eye remembers less detail than a camera captures. The photo helps you slow down and observe more carefully.
A good sketch from a photo should do at least one of these things:
• Improve your observation skills
• Help you study anatomy, light, or texture
• Let you practice composition and perspective
• Build confidence before drawing from imagination

Why Artists Use Photos as Reference
Photos are helpful because they freeze a moment. Real life moves, changes, and disappears fast. A photo lets you examine details as long as you need, which is especially useful for beginners and intermediate artists.
Here’s why sketching from photos is so common:
• It gives you stable reference material
• It helps with tricky angles and foreshortening
• It makes portrait proportions easier to study
• It supports faster learning through repetition
• It lets you compare your drawing against reality
In my own work, I found that sketching from photos helped me see mistakes I could not spot in live scenes. For example, I used to draw eyes too high on the face. A photo study made the error obvious once I compared the distance between the brows, nose, and chin.
Benefits of Sketching from Photos
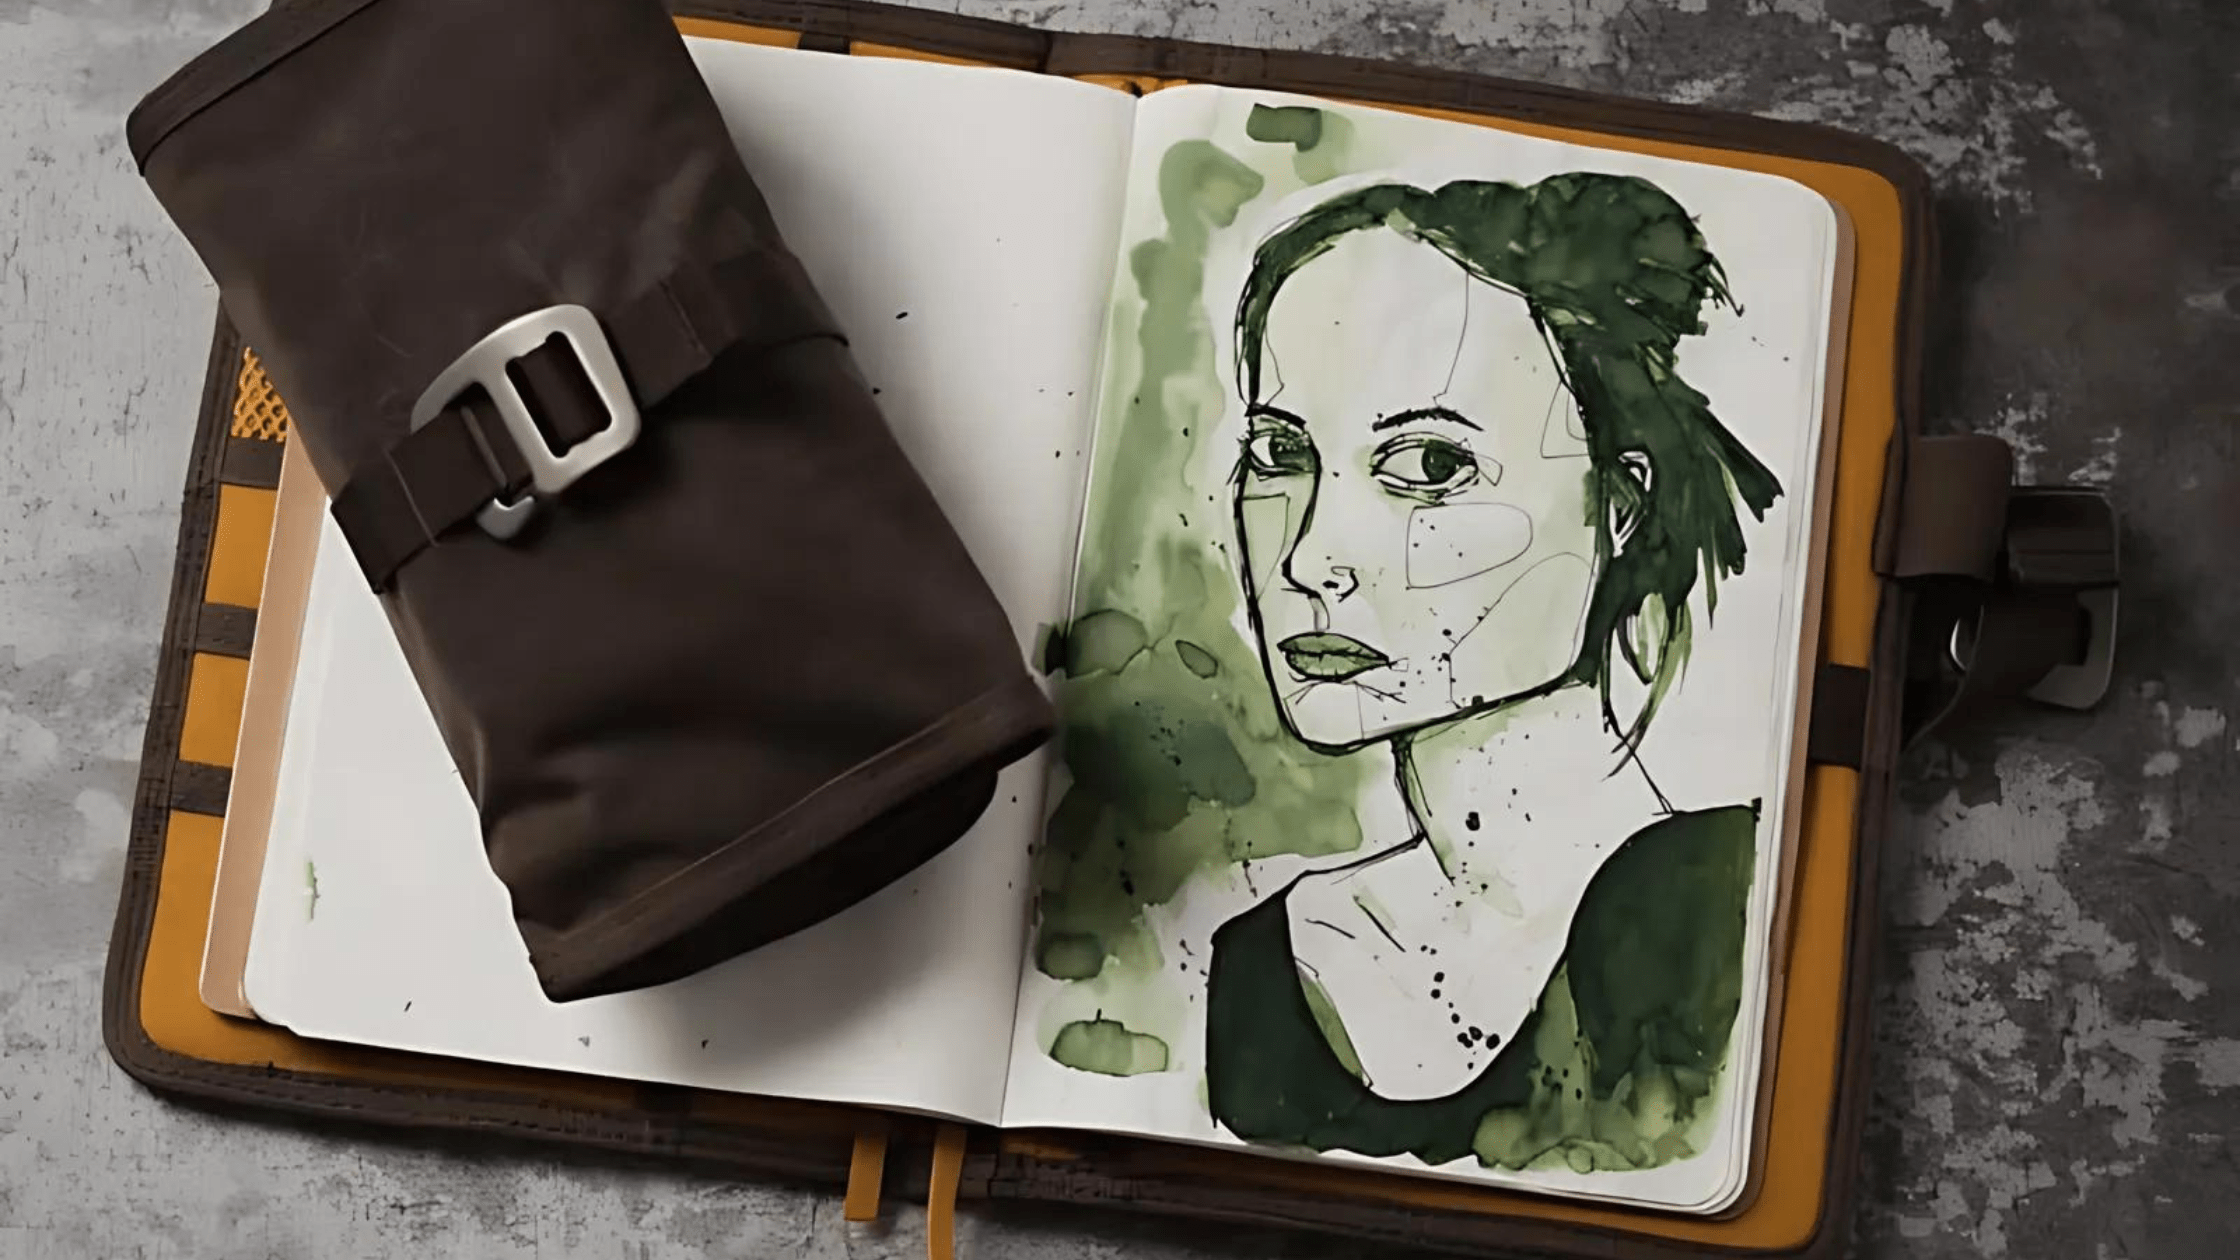
Sketching from photos offers real creative and practical value. It is one of the best ways to build skill without feeling overwhelmed.
It improves accuracy
Photos make it easier to measure angles, shapes, and proportions. You can compare the width of a nose, the tilt of a shoulder, or the curve of a hand with much more control.
It builds visual memory
When you sketch from photos often, your brain starts storing patterns. Over time, you remember how faces, trees, fabrics, and buildings are structured.
It reduces drawing fear
Many people freeze when starting a blank page. A photo gives you a starting point, which lowers stress and helps you get moving.
It supports different art styles
You can use photos for realistic art, cartoon work, editorial sketches, manga, and concept art. The same reference can lead to many styles depending on how you interpret it.
It improves speed
Once you practice enough, you can sketch from photos faster because your eye gets better at filtering essential shapes from visual noise.
Limitations You Should Know
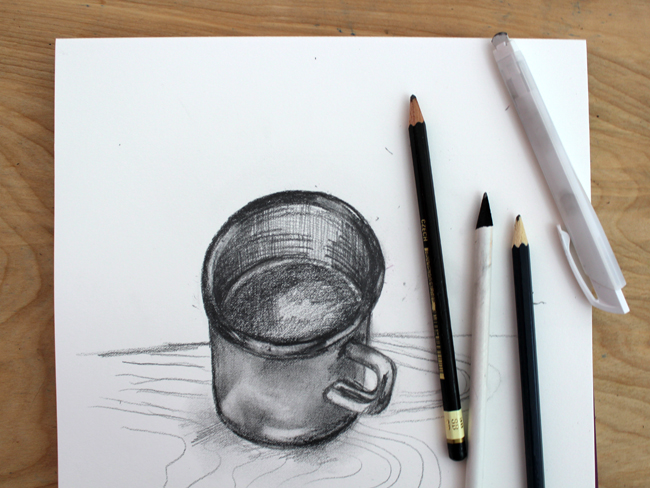
Sketching from photos is useful, but it has limits. A photo flattens depth, changes color, and sometimes hides important information. That means it should support your learning, not replace it.
Some common limitations include:
• Camera distortion, especially near the edges
• Flat lighting that removes form
• Hidden parts of the subject, like feet or hands
• Overly edited photos that change true colors
• Stillness that can make poses feel stiff if copied too literally
I learned this the hard way while drawing a face from a wide-angle phone photo. The nose looked larger than it really was because the camera lens exaggerated the center of the face. Once I understood that, I stopped trusting every pixel and started checking form against basic anatomy.
How to Sketch from Photos Step by Step
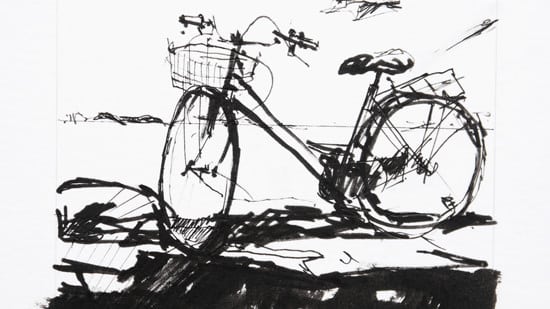
If you want better results, use a simple process. A clean method helps you stay focused and keeps your sketch from turning messy too early.
1. Choose the right photo
Pick a clear photo with strong light, simple shapes, and visible detail. Avoid blurry images when you are learning.
Good reference photos usually have:
• Clear edges
• Visible light and shadow
• A strong focal point
• Natural posing or structure
• Enough resolution to zoom in without losing detail
2. Start with big shapes
Do not begin with eyelashes, grass, or tiny textures. Block in the main forms first. This keeps your proportions under control.
Think of it like building a house. You need the frame before you add the paint.
3. Check proportions early
Measure with your pencil, brush, or eye. Compare widths, angles, and distances before going deeper. A small mistake at this stage can grow fast.
4. Build values slowly
Add shadow in layers. Look at the darkest darks, midtones, and highlights. If you rush this part, the sketch can look flat.
5. Refine edges and details last
Once the structure feels right, add detail where it matters most. Keep some areas softer so the drawing breathes.
A helpful habit I use is stepping away from the sketch for a minute or two. When I come back, my eyes catch proportion mistakes much faster.
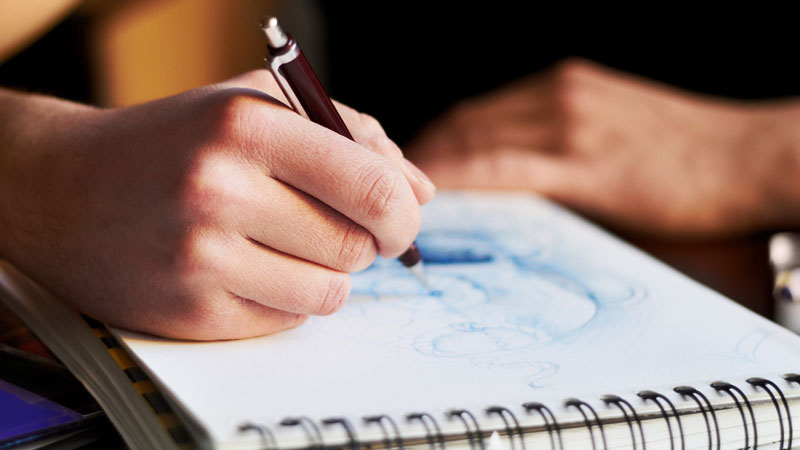
Best Tools for Sketching from Photos
You do not need expensive supplies to begin. Simple tools often work best because they keep the focus on observation.
Traditional tools
• Graphite pencils
• Charcoal pencils
• Erasers, including kneaded erasers
• Smooth drawing paper or sketchbook
• Ruler or measuring tool for practice
Digital tools
• Tablet and stylus
• Drawing apps with layers and opacity control
• Zoom features for detail study
• Canvas rotation tools for accuracy
Photo organization tools
• A folder system for reference images
• Screen brightness control
• Grid or overlay tools when needed
• A note system for saving what you learned from each study
The best tool is the one that helps you stay consistent. I have seen artists make strong work with a basic pencil and a printer photo, while others got stuck chasing fancy gear.

How to Choose the Right Photo Reference
Good sketching from photos starts with a good photo. The better the reference, the easier the drawing process becomes.
Look for images that have:
• Strong contrast between light and dark
• Clear subject shape
• Natural pose or scene
• Minimal blur
• A viewpoint that matches your skill level
If you are learning portrait sketching from photos, start with a front or three-quarter view. Those angles are easier than extreme side views or dramatic close-ups. If you are studying landscapes, choose photos with clear horizon lines and visible depth layers.
Avoid overly filtered or heavily compressed images when possible. These often hide important detail and can lead to confused sketching.
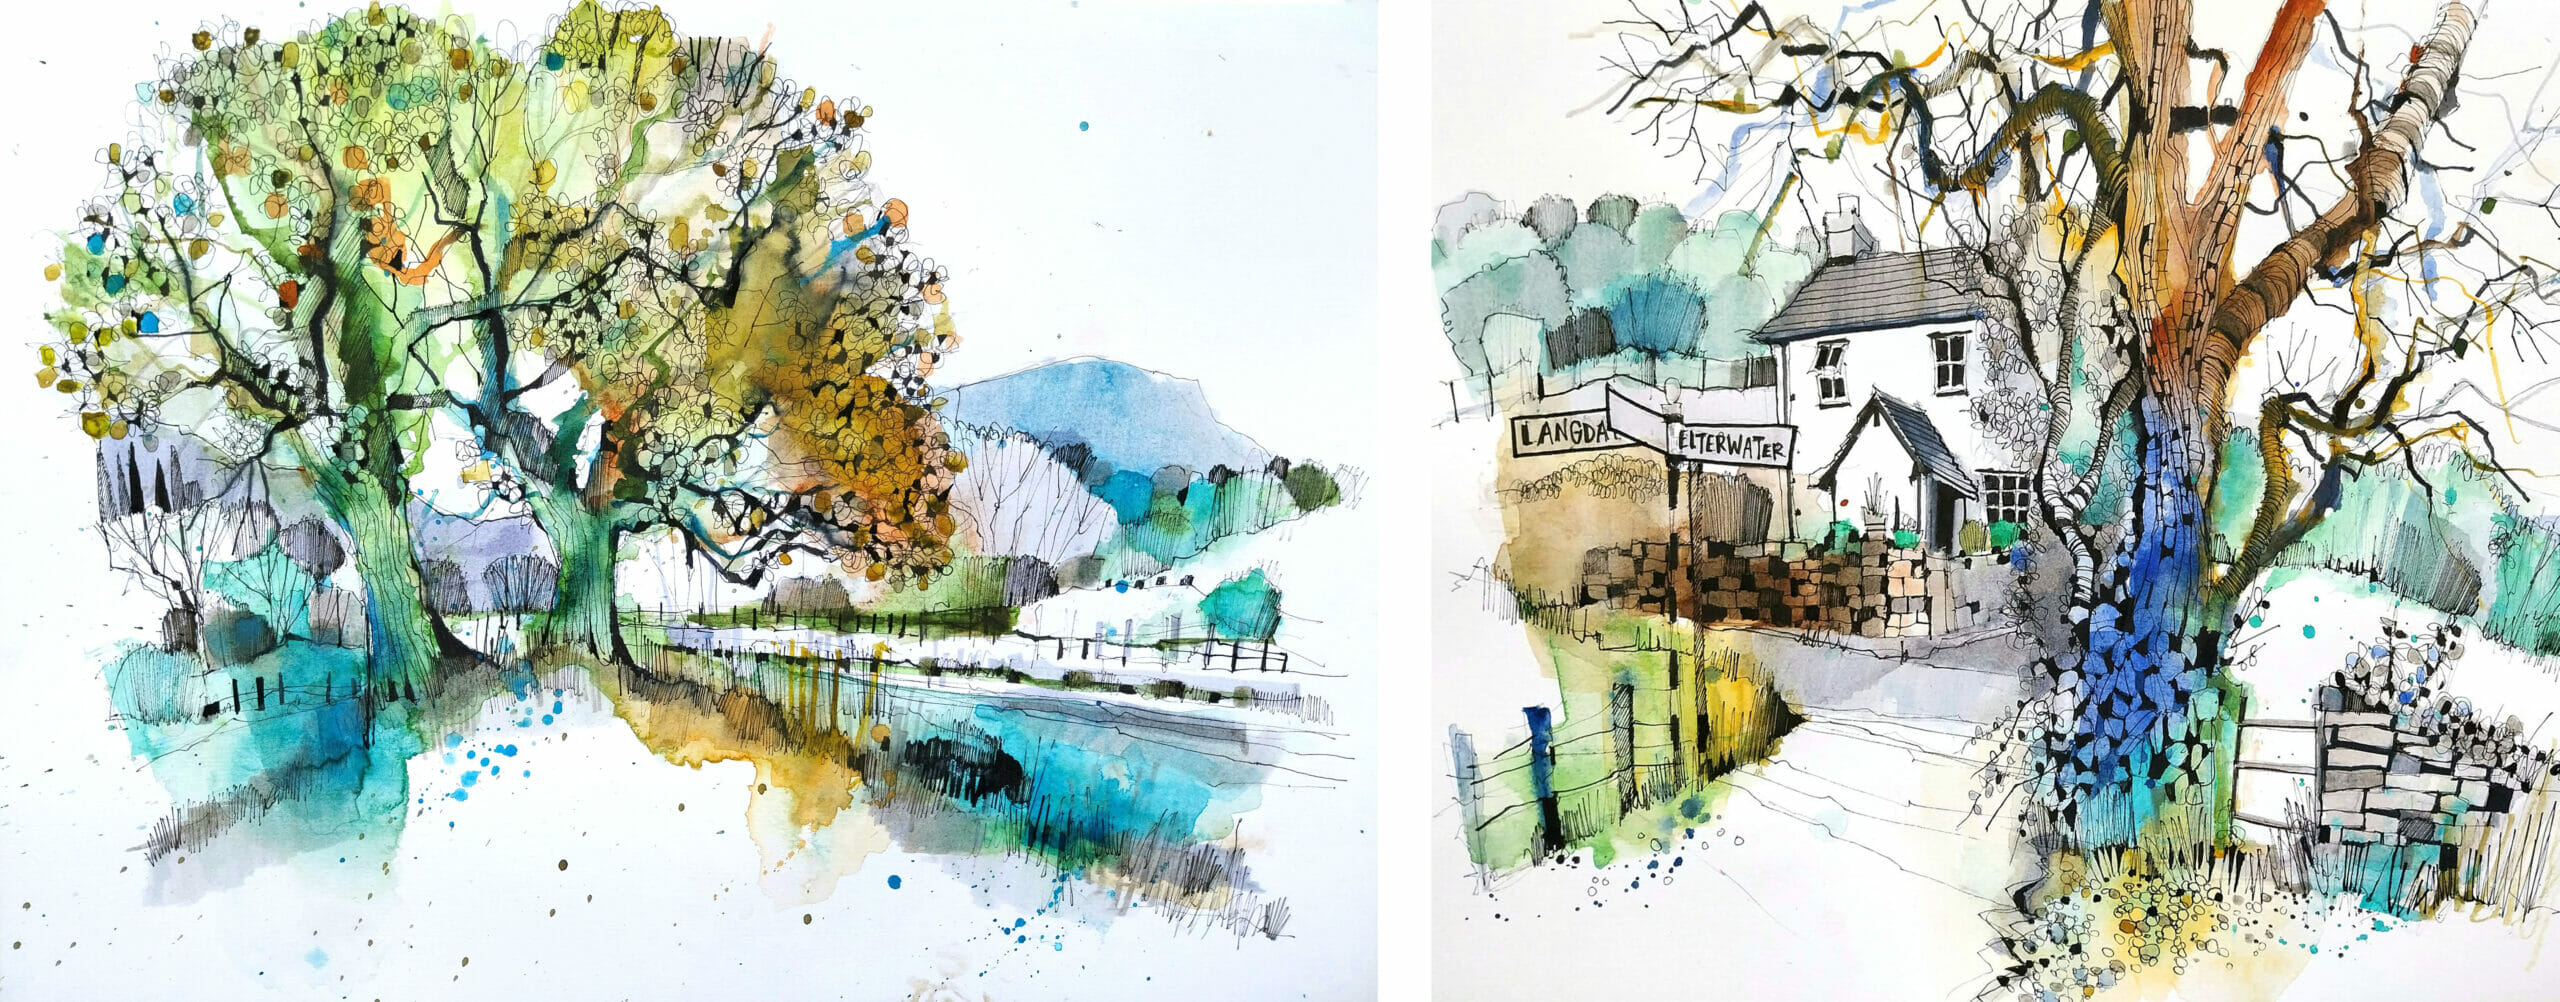
Common Mistakes in Sketching from Photos
Most artists make the same mistakes when they start. The good news is that they are easy to fix once you notice them.
Copying details too early
Many beginners jump into eyelashes, wrinkles, or texture before the structure is set. This usually leads to an off-looking sketch.
Ignoring proportions
If the head is too small or the hand is too large, the whole drawing feels wrong. Always check the big forms first.
Tracing without thinking
Tracing can be useful for warm-ups, but if you rely on it too much, your observation skills may not grow. It is better to trace for study, then redraw from memory or direct observation.
Overworking the drawing
Adding too many lines can make the sketch stiff. Try to keep only what matters.
Trusting the photo too much
Photos are useful, but they are not perfect. Light can lie, lenses can bend shapes, and edits can change color. Use judgment, not blind copying.
I have made almost all of these mistakes myself. The one that hurt my progress the most was overworking. I kept “fixing” the sketch until it lost energy. Once I learned to stop sooner, my drawings looked more alive.
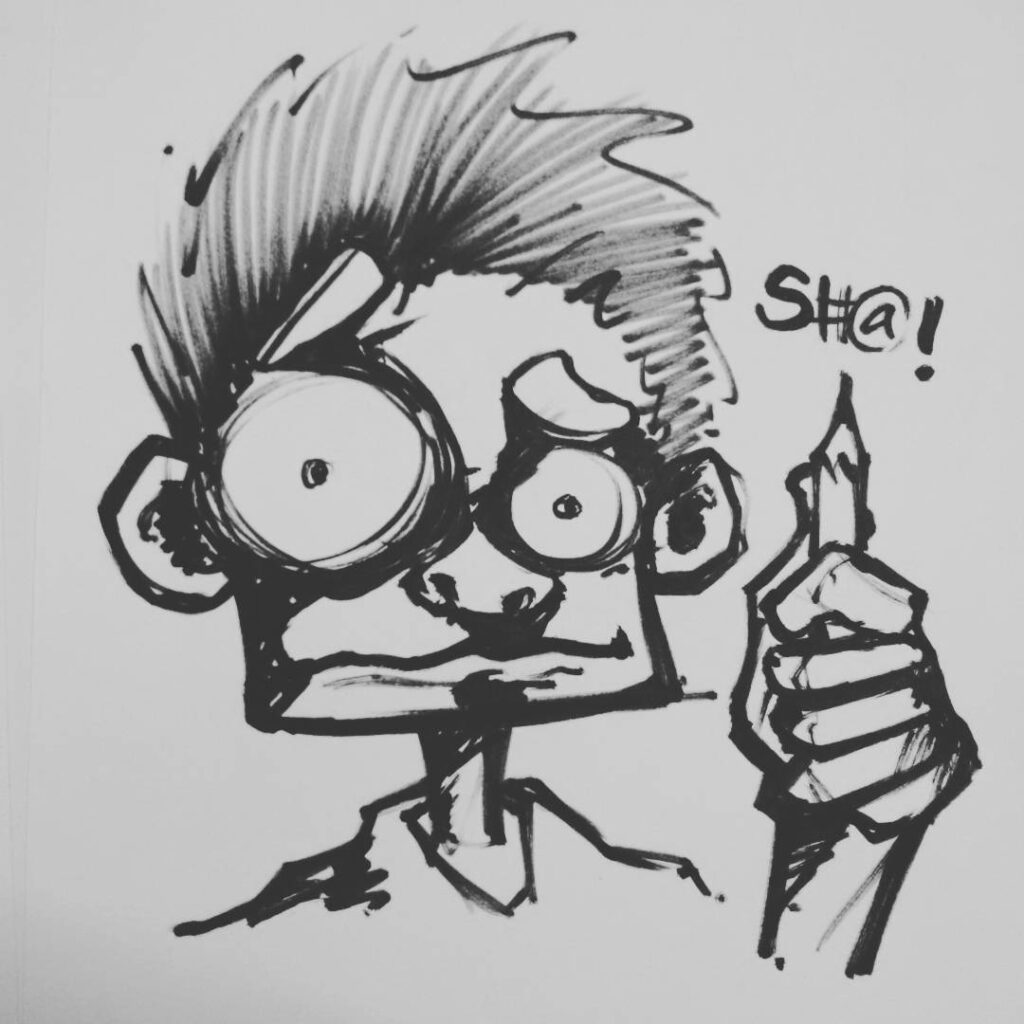
Sketching from Photos for Different Subjects
Different subjects need different habits. A portrait is not the same as a car, and a cat is not the same as a city street.
Portraits
Portrait sketching from photos depends on facial structure, expression, and light. Focus on the skull shape, eyes, nose, mouth, and jawline before adding hair or skin texture.
Animals
Animals can move quickly, so photos are especially helpful. Look at the rib cage, leg angle, tail position, and fur direction. Keep the body simple before adding coat detail.
Landscapes
For landscapes, organize the scene into foreground, middle ground, and background. This creates depth and keeps the composition readable.
Buildings and architecture
Photos are great for architectural sketching because perspective matters so much. Watch vertical lines, vanishing points, and repeated shapes like windows and columns.
Everyday objects
Still life sketching from photos helps with light, shadow, and surface texture. It is a strong way to practice realism without the pressure of drawing people.
How to Make Your Sketch More Personal
A photo should guide you, but your hand should still make choices. That is what turns a study into art.
You can make a sketch feel more personal by:
• Simplifying unimportant details
• Changing line weight for emphasis
• Adding mood with stronger shadows
• Adjusting composition for balance
• Using your own style in edges and texture
This is where skill starts to feel fun. You are not just copying a picture anymore. You are interpreting it, like a musician playing a song with their own rhythm.
Sketching from Photos vs Drawing from Life
Both are valuable, and both teach different things. Drawing from life trains your eye to respond to real light and changing shapes. Sketching from photos gives you control, time, and repeatability.
Here is a simple way to think about it:
• Drawing from life builds speed and presence
• Sketching from photos builds study and accuracy
• Drawing from life helps with spatial awareness
• Sketching from photos helps with anatomy and reference work
If possible, use both. A balanced artist learns from real objects, real people, and strong photo references. That mix tends to create the best long-term growth.
Tips to Improve Faster
Small habits can make a huge difference. If you practice with intention, your progress becomes much faster.
Try these tips:
• Start with short studies of 10 to 20 minutes
• Use a timer to avoid overthinking
• Compare your drawing to the photo often
• Rotate the image if needed for easier viewing
• Practice the same subject multiple times
• Keep a sketchbook of what you learned
One of the best things I ever did was redraw the same portrait three times. The first sketch was stiff, the second was better, and the third finally felt natural. Repetition turned confusion into understanding.
Ethical and Legal Considerations
When using photos, it is smart to think about rights and respect. Not every image is free to use for public sharing or commercial work.
A few safe habits include:
• Use your own photos when possible
• Use licensed stock images for public projects
• Get permission for private portraits or client work
• Credit when required by the license
• Avoid copying another artist’s photo-based sketch too closely
This matters more than many beginners realize. Good ethics build trust, and trust matters if you want to grow as a serious artist.
Frequently Asked Questions of sketching from photos
Is sketching from photos good for beginners?
Yes, it is one of the best ways for beginners to learn shape, proportion, and shading. A photo gives you time to study without pressure, which makes practice easier and more effective.
Is sketching from photos considered cheating?
No, it is a normal and respected art practice. Many professional artists use photos as references to improve accuracy, explore ideas, and speed up their workflow.
How do I make a sketch from a photo look more artistic?
Focus on simplification, line quality, and value control. Instead of copying every detail, decide what matters most and leave room for your own style.
What kind of photos work best for sketching?
Clear photos with strong light, visible shapes, and good contrast usually work best. Avoid blurry or heavily edited images when you are still learning.
Can I use phone photos for sketching?
Yes, phone photos are fine for most studies. Just be aware that wide lenses can distort faces and close objects, so check proportions carefully.
How long should I spend on sketching from photos?
Start with short sessions of 10 to 30 minutes. Short practice helps you focus better and makes it easier to repeat the exercise often without burnout.
Conclusion
Sketching from photos is a smart, flexible way to grow as an artist. It helps you study proportion, light, texture, and composition while giving you room to practice at your own pace. When you use it with care, it becomes more than copying — it becomes training for the eye and hand.
The key is to treat every photo like a lesson. Start with simple shapes, check your proportions, and stay honest about what the reference can and cannot show. Keep practicing, keep observing, and let each sketch teach you something new. If this guide helped you, explore more drawing tips, keep building your sketchbook, and share your progress with others.