
Graphite still life uses pencil tones to capture form, light, shadow, and texture with elegant simplicity.
Graphite still life is one of those art forms that looks simple at first, then quietly reveals how deep it really is. I’ve always found it powerful because it turns ordinary objects like fruit, bottles, cloth, or pottery into something almost poetic. In this guide, I’ll walk you through what graphite still life is, why it matters, how to create stronger drawings, and the practical lessons that can save you time and frustration.
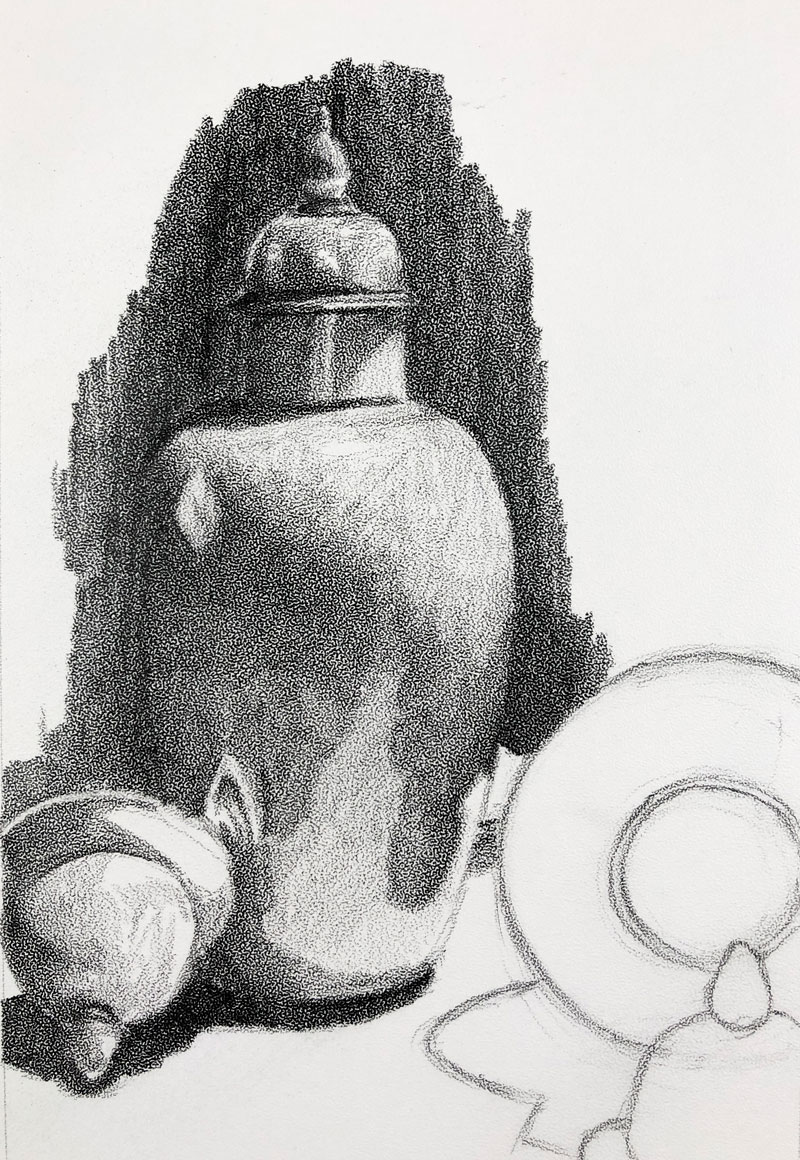
What graphite still life means
Graphite still life is a drawing made with graphite pencils, graphite sticks, or powdered graphite that focuses on inanimate objects. The goal is not just to copy what you see, but to show shape, value, texture, and space in a believable way. A well-made graphite still life can feel calm, dramatic, or very real, depending on how the artist handles light and contrast.
This style has been used for centuries because graphite is flexible, affordable, and easy to control. You can make a faint outline, a soft shadow, or a deep black edge with the same medium. That range is why graphite still life remains a favorite for beginners, teachers, and professional artists alike.
Why artists keep coming back to graphite still life
Graphite still life stays popular because it teaches the core skills behind drawing. When you draw a bowl of apples or a glass jar, you are learning proportion, perspective, shading, and composition all at once. That makes it one of the best ways to build strong draftsmanship.
It also has a quiet honesty that people often love. There is no color to hide behind, so the drawing depends on form and value. In my own practice, I’ve found that graphite still life forces you to slow down and really look, which is often where the best improvement happens.
Some of the biggest benefits include:
- Better observational skills, because you must study light and edges closely
- Stronger value control, since graphite shows light and dark clearly
- Low cost, because the tools are simple and easy to find
- Easy correction, especially when compared with many paint mediums
- Broad use, from school practice to portfolio pieces and gallery work
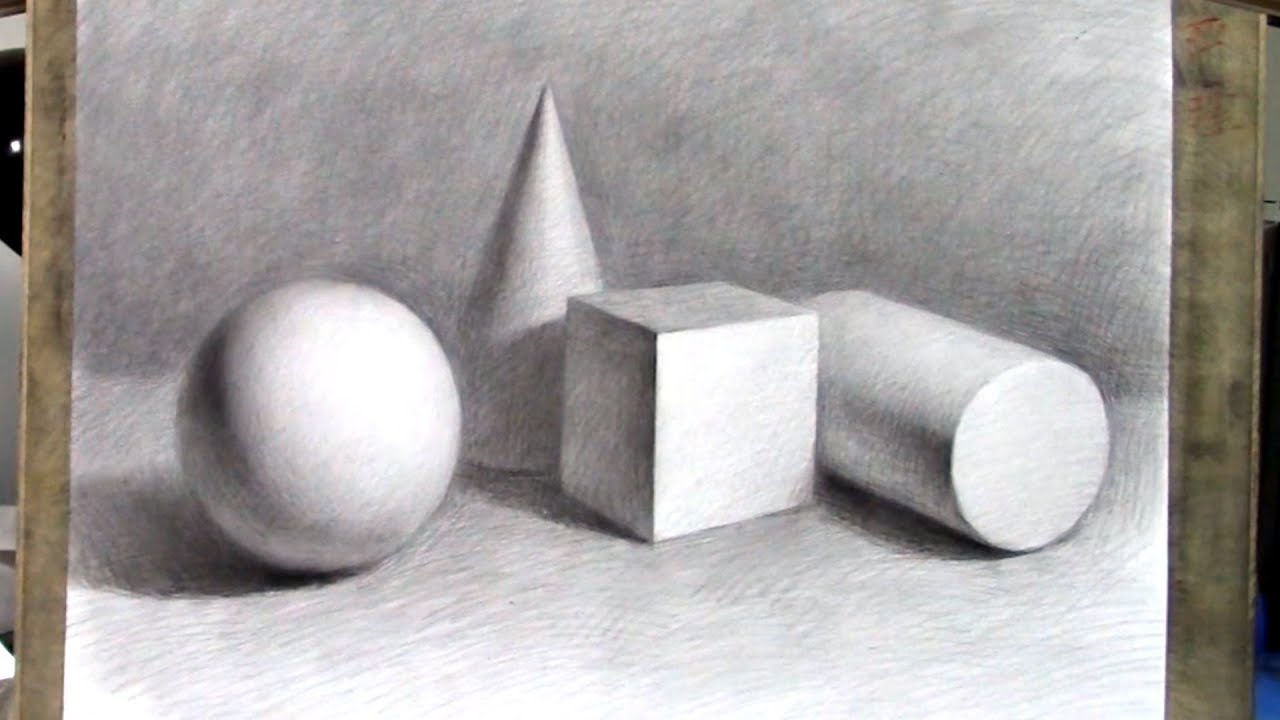
Essential tools for graphite still life
You do not need a huge supply list to begin. A few good tools are enough to make strong graphite still life drawings. The most important part is learning what each tool does, not collecting every pencil grade on the shelf.
Graphite pencils
Graphite pencils come in different hardness levels. Harder pencils like H and 2H make light, clean lines. Softer pencils like B, 2B, 4B, and 6B make darker marks and smoother shading.
A simple starter set might include:
- 2H for light construction lines
- HB for general drawing
- 2B for mid-tone shading
- 4B or 6B for deep shadows
Paper
Paper choice matters more than many beginners think. Smooth paper works well for fine detail, while lightly textured paper holds more graphite and gives richer shading. For graphite still life, a medium-surface drawing paper is often the safest choice.
Erasers and blending tools
A kneaded eraser is very useful because it can lift graphite gently without damaging the paper. A vinyl eraser helps remove stronger marks. Blending stumps can soften transitions, but I usually recommend using them lightly so the drawing does not become muddy.
Other helpful supplies
- A sharpener for clean pencil points
- A ruler for setting up basic alignment if needed
- A drawing board to keep the surface stable
- A cloth or tissue to keep your hand clean and avoid smudging
How to set up a strong graphite still life
A good setup is half the drawing. If the light is weak or the objects are placed without thought, the drawing becomes harder before you even start. A simple, clear setup will make your graphite still life much easier to manage.
Start with one strong light source. Side lighting usually works best because it creates clear shadows and shows the form of each object. Natural window light can be beautiful, but a lamp gives more control if the light stays steady.
Choose objects with different shapes and surfaces. For example, place a round apple, a tall bottle, and a folded cloth together. This creates variety in contour, reflection, and texture, which makes the scene more interesting.
When arranging your objects, think about these points:
- Keep the composition balanced, not too crowded
- Vary heights and shapes for visual interest
- Leave enough space so each object can breathe
- Watch the shadow shapes, since they help anchor the objects
- Avoid placing everything in a straight line, which can feel flat
Drawing process for graphite still life
A clean process helps you avoid common mistakes. I’ve seen many artists rush into shading too early, and the result usually looks stiff or patchy. A slower, layered approach gives much better control.
1. Observe the whole scene first
Before drawing, look at the big shapes. Notice the overall height, width, and placement of each object. Try not to get trapped in tiny details too soon.
2. Block in basic shapes
Use light lines to map the simple forms. A cup may start as a cylinder, an orange as a circle, and a vase as a set of connected curves. This stage should stay loose and easy to adjust.
3. Check proportions and angles
Measure relationships with your pencil or by eye. Compare the height of one object to another, and look at the angle of the tabletop, rims, and edges. Small errors here can throw off the whole drawing later.
4. Build value slowly
Start with the lightest shadows and work toward the darker ones. Graphite still life looks stronger when values are built in layers instead of forced all at once. This also helps the drawing stay clean.
5. Refine edges and texture
Some edges should be sharp, like the outline of a glass against a dark background. Others should be softer, like a shadow fading into paper. Texture matters too, but only add it where it helps the object feel real.
6. Finish with contrast
The last stage is usually about pushing darks and correcting small details. Strong contrast gives the drawing depth. If everything is the same tone, the still life can look flat even when the drawing is accurate.
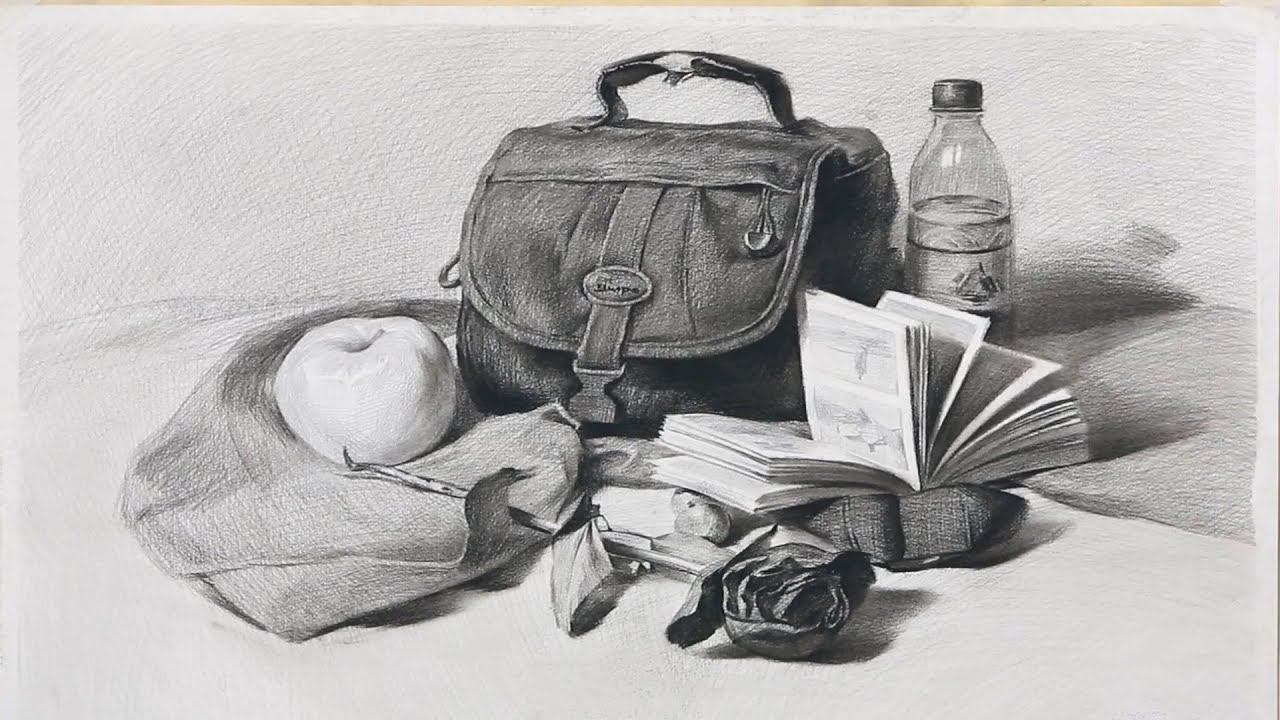
Value, light, and shadow in graphite still life
Value is the heart of graphite still life. Since graphite is a monochrome medium, the drawing depends on how well you control light and dark. If the values are solid, the whole piece feels believable.
Light tells you where the object turns in space. Shadow tells you where the light stops. Reflected light, cast shadow, and core shadow all work together to create form.
A simple way to think about it:
- Highlight: the brightest area where light hits directly
- Mid-tone: the middle value on the object
- Core shadow: the darkest part on the form itself
- Cast shadow: the shadow the object throws onto the surface
- Reflected light: a softer light that bounces back into the shadow
If your shadows are too weak, the object may look pasted on. If they are too dark too early, the drawing can feel harsh. The sweet spot is usually a controlled range of values with clear structure.
Composition tips for stronger graphite still life drawings
Composition is what keeps the eye moving. Even in a simple graphite still life, the arrangement of shapes matters a lot. A strong composition can turn a study into a memorable drawing.
Try these practical ideas:
- Use an odd number of objects when possible
- Vary object sizes for rhythm
- Place the largest shape slightly off-center
- Let one object overlap another to create depth
- Include one or two shadow shapes that help tie the scene together
I also like to crop mentally before I start. If an object feels too big or too far from the others, I move it before drawing. That small decision often saves a lot of trouble later.
Common mistakes to avoid
Every artist makes mistakes with graphite still life. The trick is learning which ones matter most. Some errors are small, but others can weaken the entire drawing.
Here are the biggest ones I see:
- Starting with dark lines, which makes corrections harder
- Ignoring the shadow shapes, which flattens the scene
- Overblending, which can make graphite look dull and lifeless
- Using too much detail too early, which distracts from structure
- Forgetting to compare object sizes, which causes proportion problems
One mistake I made early on was blending everything until the drawing lost its energy. It looked smooth, but it also looked vague. That taught me that texture and edge control matter just as much as softness.
Techniques that improve graphite still life
Once you understand the basics, a few techniques can make your drawings much stronger. These methods work well whether you are drawing for practice or final presentation.
Hatching and cross-hatching
Hatching uses parallel lines to build tone. Cross-hatching adds another layer of lines in a different direction. This method gives graphite still life structure and keeps the surface more alive than heavy smudging.
Layering
Layering means adding graphite in thin stages. It helps you keep control and avoid shiny, overworked areas. Many professional artists rely on layering because it gives the drawing depth.
Lifting highlights
You can lift graphite with a kneaded eraser to bring back light areas. This is useful for glass, shiny fruit, or the edge of a ceramic object. Think of it like carving light back into the paper.
Controlled blending
Blending can help smooth transitions, but it should support the drawing, not replace it. I usually blend only after I have enough structure in place. Otherwise, the tones can turn soft in the wrong places.
Graphite still life for beginners
If you are new to graphite still life, keep your first setups simple. One apple, one mug, and a cast shadow can teach you a lot without overwhelming you. Simplicity helps you focus on form instead of fighting too many objects.
Here is a beginner-friendly approach:
- Choose 1 to 3 simple objects
- Set up one clear light source
- Draw the largest shapes first
- Check proportions before shading
- Add values in slow layers
- Save the darkest darks for the end
The biggest beginner win is learning to see. Once your eye gets better, your hands usually follow.
Advanced ideas for more expressive graphite still life
Once your basics are solid, you can push the work further. Graphite still life does not have to be purely academic. It can feel moody, dramatic, or even emotional.
You can experiment with:
- Strong lighting for high contrast
- Deep backgrounds for a theatrical mood
- White objects on dark surfaces for challenge
- Transparent objects like glass for reflection practice
- Fabric folds for rhythm and flow
Some of the most interesting graphite still life drawings use negative space well. That means the empty area around objects becomes part of the design. When this is done right, the whole drawing feels more intentional.
Why graphite still life is useful for artists of all levels
Graphite still life is more than an exercise. It is a foundation. Even experienced painters and digital artists often return to it because it sharpens the eye and strengthens visual thinking.
It helps with:
- Figure drawing, because you better understand light and form
- Painting, because value control matters in every medium
- Illustration, because clear structure improves storytelling
- Design, because placement and balance become more natural
In other words, graphite still life is like training with good basics. The more carefully you do it, the more it supports everything else you make.
Frequently Asked Questions
What is the main purpose of graphite still life?
The main purpose is to study form, light, shadow, and texture using graphite. It helps artists build strong observational skills and better control over value.
Is graphite still life good for beginners?
Yes, it is one of the best places to start. The tools are simple, and the subject matter helps beginners learn drawing fundamentals in a clear, low-pressure way.
What objects work best for graphite still life?
Simple objects with different shapes and surfaces work best, such as fruit, cups, bottles, books, and cloth. These give you a mix of curves, edges, reflections, and shadows to practice.
How do I make my graphite still life look more realistic?
Focus on accurate values, clean proportions, and careful shadow shapes. Realism often comes more from light and contrast than from tiny details.
Can I use blending tools in graphite still life?
Yes, but use them with control. Too much blending can make the drawing look soft and muddy, so it is usually best to blend only where smooth transitions are needed.
Conclusion
Graphite still life is a simple subject with a lot of depth. It teaches you how to see better, draw smarter, and build images that feel solid and alive. With the right setup, patient shading, and careful observation, you can create drawings that are both technical and expressive.
If you are starting out, keep your subjects simple and your process slow. If you are more experienced, use graphite still life to refine your values, edge control, and composition. Try a new setup this week, compare your results, and keep building from there.